The past few days have been frustrating. First, the power dies at home so I couldn't mow the lawn (yes, I still mow the lawn) because "we" have an awful electric lawn mower. The next day (Thursday) I replaced the upper control arms on my Sister's Accord. That went surprisingly well. After that, I loaded up my car and went to drive off into the sunset, or, to my "shop" and get some work done. Then my Legend decides to nearly die on the way there. I decided to fill up while I tried to figure out WTF was going on. The engine would start up fine but had little to no power, reminiscent of my earlier troubles. I decided to be stupid and I drove to my "shop" and I made it there, through terrible traffic and slow going outside of traffic. I spent the evening checking things under the hood after pulling an "Ignition signal" code off the ECU. I went through the troubleshooting procedures, but didn't find anything terribly conclusive. I crashed at my friend's place, as I happened to have a sleeping bag and there is plenty of floor space for the grabbing. LOL! I spent a few hours moving stuff around in the "shop" consolidating a large volume into a more compact space in anticipation of lots of work of the next week.
I woke up this morning and got to work! I took the old SOHC engine off the stand:
I've had this cheap engine stand for over a decade:
It was given to me for helping swap an engine ages ago. It certainly has seen quite a lot of use and abuse and travel.
I put together my new grinder stand:
This thing actually surprised me. It is well cast, the hardware is decent and it fits together perfectly. I have yet to bolt down the grinder, but that will happen shortly. The only complaint I have is that the tube supplied is a bit thin so it bends if you crank down too hard on the lock bolts. But, it is really sturdy and totally useable!
The next thing I set up is this:
Harbor Freight's disc/belt combo sander. It went together with a minimum of fuss, the bet and disc supplied are actually decent, the belt track straight, and the motor is pretty OK! For the work I did today, it functioned nearly flawlessly. I would like to put some light thread locker on the set screw that holds the disc in place, but that is about it. I've already been researching belts and discs for it, and have found some very reasonably priced, high quality stuff that I will likely purchase through Amazon soon.
The next bit is harder to see in this picture:
The stand underneath the wood top is the thing I'd like to point out. This one was not so great to put together, but only because the box was not intact and some of the hardware is missing. I'll get that straightened out son enough. It is fairly sturdy and for the price, I wouldn't hesitate to recommend it for light or medium weight things.
I might have mentioned this before, but this foot switch is really good to have:
I mostly use it with my band saw when it is in the vertical stand. I can start and stop the saw with my foot instead of using a hand. This allows for more control, and when dealing with cutting and grinding tools, control and awareness are paramount!
The next few pics are of the parts of the box that Pete's engine was shipped in.
I have to say, I am very impressed with the construction. Any time it takes you over 45 minutes to unpack one thing, you know it is packaged to survive anything! heh
I labeled the panels and the frame as I took them off to facilitate putting everything back on when it is time to ship the engine back to Pete:
Top of the frame:
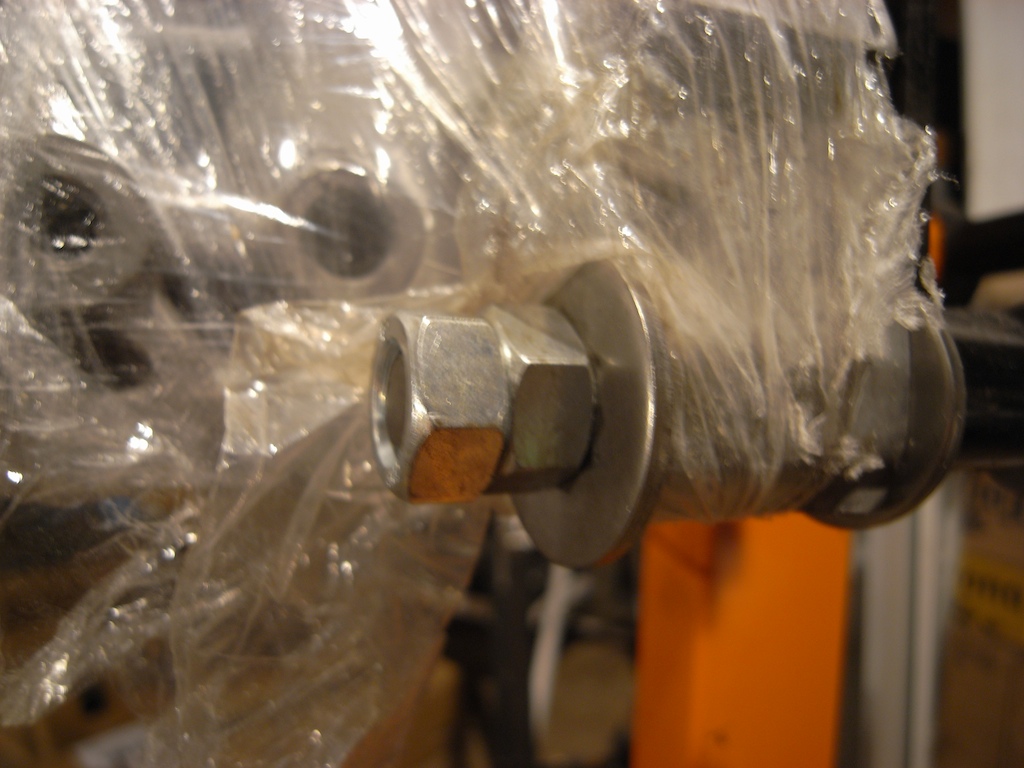
Side view of the frame with the engine nice and snug inside its wrapping:
Once I got it out, I set about cutting these:
from threaded rod purchased from McMaster-Carr. (M12x1.25!)
Having chopped them to size in the bad saw, the ends needed some smoothing, so it was time to put the new sander to work!
Talk about quickly making a nice, smooth end! I love that sander!
If you'll notice, though I am not happy with the amount of crud and muck on the rod. I ran a a tap over the threads to clean everything up:
ALWAYS lube taps and dies, even when just cleaning threads. ALWAYS.
Here is the difference:
If you are curious about measurements, I made the shorter blind-hole studs 4.25" and the longer through-hole stud 5.5"
I made the long one long enough to double nut the end, like this
You'd also be wise to notice that I have a washer in between the stand leg and the block. Most cheap engine stands aren't finished well, and I would rather have a smooth washer against the block than a poorly finished tube. Little things like this make a difference!
Artsy shot:
Once I got the block mounted on the stand, it was time to put on Pete's pan:
I stole two studs and nuts from my SOHC engine, which took a while to do since I didn't want to ruin those small studs and took the time to clean up the threads so that they wouldn't booger up Pete's nice and newly machined and cleaned block! Taking care of threads takes time, but it is much less time than repairing a thread that gets boogered because of lack of care.
More views:
I have to ask Pete who made this plexi cover:
I really like it! Of course it has to come off for putting the head on, but I think it is a great idea to have to keep the mating surface on the block in good shape!
Now here is where things get a little goofy:
Yes, that is a ratchet strap holding the head and block together. I totally forgot that I didn't have any dowel pins or extra head bolts . . . Duh. That will be taken care of soon enough, especially since I want to get the head indexed correctly before making any serious commitment to a particular measurement for the primaries or downpipe (in Pete's case).
This is where the block came from, recently:
I have to say that I am EXTREMELY impressed with the sleeving job. I like the design and the fit and finish is, as far as I can tell by visual inspection, extraordinarily good! This engine is being built so well! I am just glad to be a part of it. =)
Some other block markings that I just liked enough to take pictures of:
The oil inlet caught me a bit off guard:
I haven't seen one like that before, or at least not that I've noticed. If I remember, I'll grab a pic of the same spot on my SOHC as it is quite a bit different.
On to more fun stuff! The flange needed some clearancing:
More was needed on the timing belt side than the passenger side, but having the belt sander make quick work of it:
Now it might seem like I am going to brag about something, but, I'm really not, at least not at the moment. Take a look at this:
The gradations closest to the front of the picture are 1/64". That line is supposed to be on the 1/8" line. It's less than 1/64" off. So, why am I making such a big deal out of this? Because this is me being INACCURATE. Normally, I would obsess over getting things even more precise, but, I am realizing more and more that sometimes your tolerances don't need to be quite as close for most things . . . (Except for fitup for TIG welding. heh) The point here is to know what you are doing an what is necessary. Getting to caught up in details can stall everything. There is such a thing as "good enough at this time!"
The lines above were for installing a clamped fence to cut these:
Which I finished in record time thanks to the new sander. I am still not happy with how much work it takes to match the sides up, but I have some good ideas on how to improve on the process in the future, which is good because I will have several more headers and manifolds to make the rest of the summer!
Of course, I HAD to show this thing off again:
I LOVE it! The ink is different than normal Sharpies, too. It takes longer to dry, or, at the very least goes on thicker an makes for goo score lines:
I didn't get to take pics of the last couple things I did, but it was mostly some layout prep work for finishing up Mike's bike and something to make my life easier when doing this next header.
Tomorrow will be a busy day. Dave and I are going to venture forth to exchange my bottle (it is finally near its end), pick up material from McMaster-Carr and I think we'll actually finish his header! I'll be finalizing the layout for Mike's seat pan and battery tray, triple checking my measurements, and that will be ready to get done soon, too. I am going to have to stop a bit earlier than usual as I am going to be the door man at a bar for a gig. A few bands are playing and the music alone makes it worth getting in for free. The added bonus is getting to be imposing, handling a large wad of cash and being nosy. All things I like. LOL!