I posted a few of these pics to FB, but I'm happy with how it has turned out so far. I'll fill in some more details here, since I really don't like bothering to do that on FB.
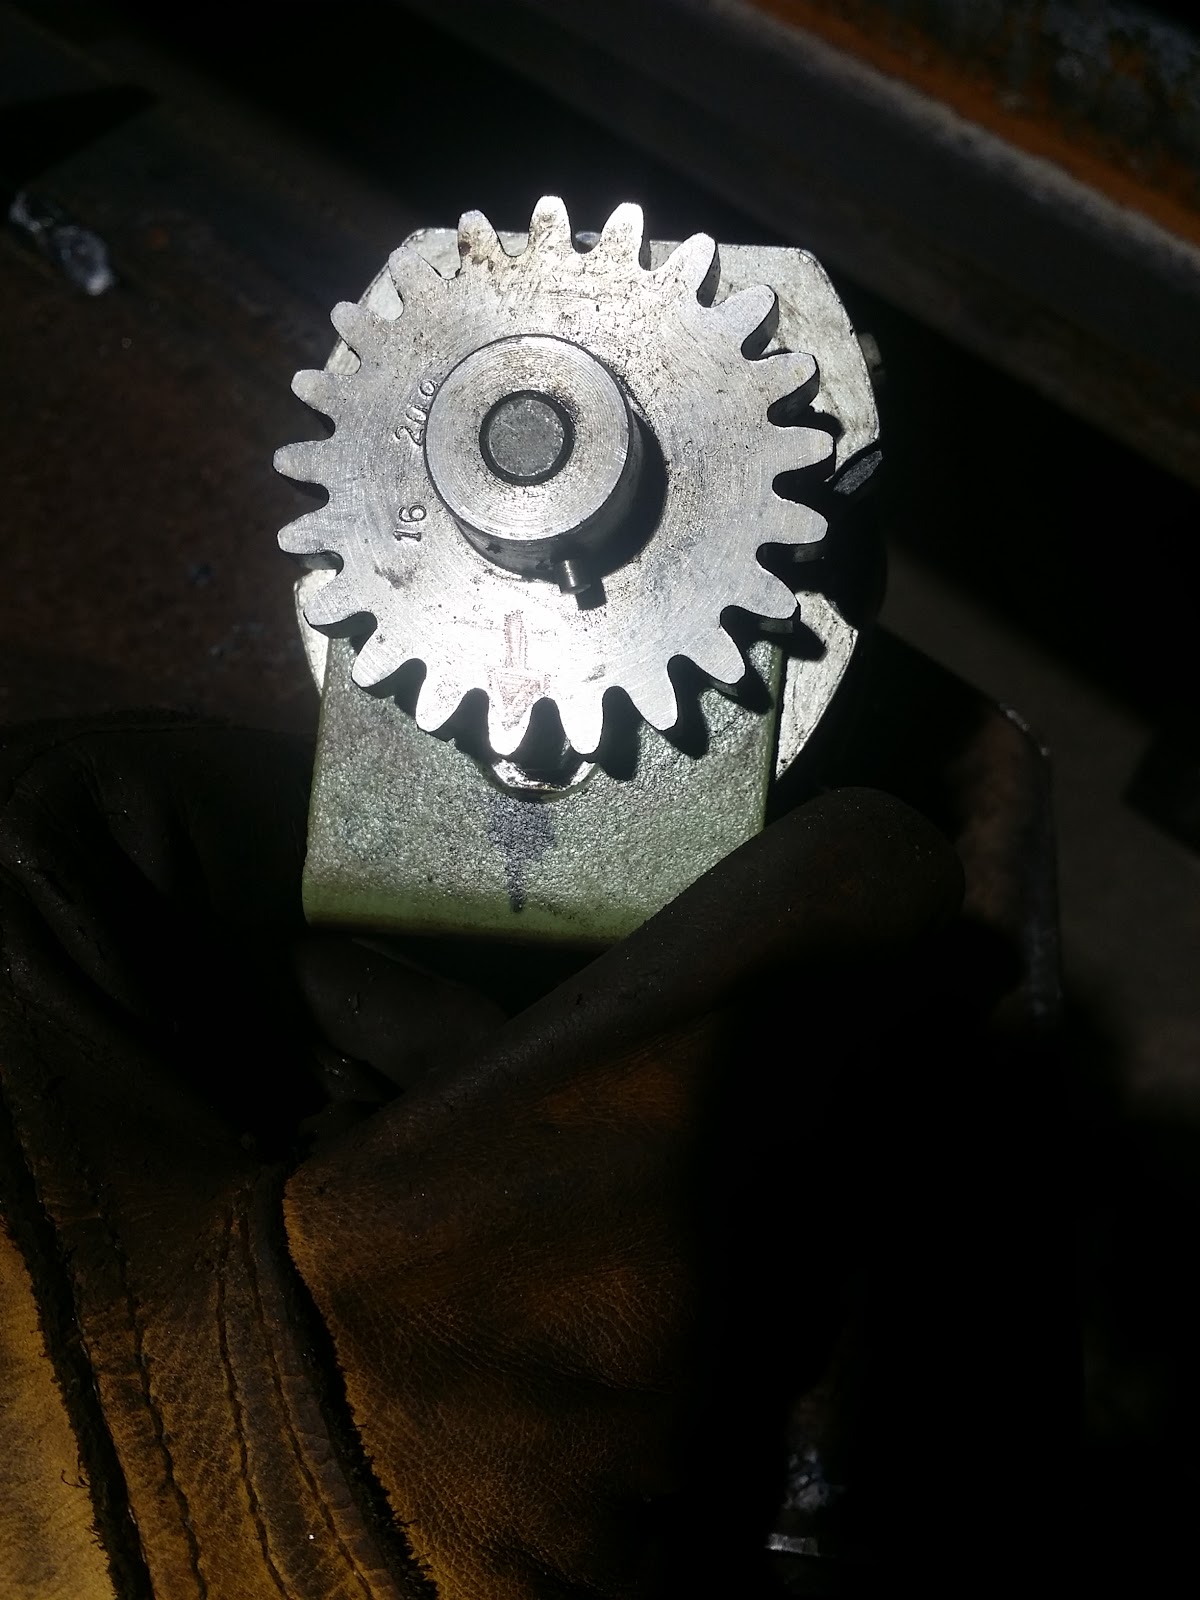
During the past week, I got a few things done in preparation for this weekend's activities. Firstly, I made an extension cord for my Everlast 200DV so I could run it directly off a 220V breaker:

 Since it has been so dang cold out, I wanted to have the extra amperage available to weld the aluminum correctly without having to bother pre-heating it with the torch at work which isn't my favorite way to preheat aluminum.
Here's the welder set up and ready to go:
 I was lazy so I just slapped in a 2% lanthanated 3.32" tungsten to the #4 cup I had used for the pedal box repair the previous weekend:
 That cup was glowing red hot by the time I finished welding everything. LOL!
Here's the bumper support as it was tacked the last time I was at the Funks':

It took a few minutes to orient my brain in "aluminum TIG mode" but I turned out some really decent beads:


Here's one of the nicer beads and one of the not so nice beads, but hey, it's solidly on there:

So now we come to yesterday's work. I was running back and forth between working on the bumper support, consulting with Ed about seam welding the front subframe and giving Steph welding lessons. It was fun!
I got the support up on the workbench:
 And scribed lines that I thought looked good:
 Then cut off the corners:
 Then I cleaned up the edges and made cap plates:
 If the mounts had been located more towards the center of the car, I'm not sure I would have bothered to cap the ends, but, since the mounts are directly under the cutouts, it is best for strength to cap the ends. The being said, you don't need to bother putting in material as thick as what was cut off for the cap! As you can see here:
 I just used some thing (16g?) stuff that was laying around which is more than enough for the purpose. You can also see in the above pic that I chamferred the edges for maximum penetration in anticipation of grinding down the welds.
To make my life easier, I simply angled the support so the cut was flat and plopped the plate down on top for tacking and welding:
 Then got busy welding:
 A little while later:
 Done!
Done!
All this was done on a 110V circuit with the Everlast. It wasn't even an issue! I love this TIG box.
 I know some of you are wondering why I bothered to grind down the welds:

This is a racecar. Ounces count.
 Also, in the event of some bumper to bumper contact, not having raised ridges will allow for slippage, not snagging. Theoretically. heh
Here it is in place waiting for a bit more work before calling it done:

The next job I took on was reinforcing this aftermarket panhard rod mount:
 The last time I was up, I saw that and was pretty dissatisfied with it. I could tweak it by hand. That's not particularly confidence inspiring for a mounting point of a long lever that is supposed to located the rear axle beam. Long means a lot of leverage. Leverage means that mount was going to be moving around tweaking the panhard rod placement making the back end not feel as consistent. I didn't like that at all!
Here's another view:

Ed and I put our heads together to come up with some way of increasing the stiffness of the structure while not interfering with the panhard rod mount, the axle or any of the other suspension pieces that occupy the same area all in close proximity.
We decided to use three pieces of steel as reinforcement. The first is this piece of 3/4"x3/4"x1/8" angle on the INSIDE of the long, skinny piece:
 If you maximize the picture, you will notice that I clearanced the flat end at the top to provide a tight fit around the existing weld and that I angled the bottom end since there was no need for there to be a squared off end.
I welded the angle in place, then welded in a piece of 2"x1/4" flat bar onto the rear:
 Another angle:
 The flatbar rested on the horizontal brace and was welded to the round tube, long, skinny piece and the horizontal brace. I forgot to get a pic of the piece of flat bar I welded onto the front in the same fashion as the rear piece.
With the additional bracing, the mount is EXTREMELY solid. You can shake the whole car instead of wiggling the mount. Both Ed and I are much more satisfied with the mount situation now.
And that is that. I hope you enjoyed this update and look forward to more from Today's work.
During the past week, I got a few things done in preparation for this weekend's activities. Firstly, I made an extension cord for my Everlast 200DV so I could run it directly off a 220V breaker:
Here's the welder set up and ready to go:
Here's the bumper support as it was tacked the last time I was at the Funks':
It took a few minutes to orient my brain in "aluminum TIG mode" but I turned out some really decent beads:
Here's one of the nicer beads and one of the not so nice beads, but hey, it's solidly on there:
So now we come to yesterday's work. I was running back and forth between working on the bumper support, consulting with Ed about seam welding the front subframe and giving Steph welding lessons. It was fun!
I got the support up on the workbench:
To make my life easier, I simply angled the support so the cut was flat and plopped the plate down on top for tacking and welding:
All this was done on a 110V circuit with the Everlast. It wasn't even an issue! I love this TIG box.
This is a racecar. Ounces count.
Here it is in place waiting for a bit more work before calling it done:
The next job I took on was reinforcing this aftermarket panhard rod mount:
Here's another view:
Ed and I put our heads together to come up with some way of increasing the stiffness of the structure while not interfering with the panhard rod mount, the axle or any of the other suspension pieces that occupy the same area all in close proximity.
We decided to use three pieces of steel as reinforcement. The first is this piece of 3/4"x3/4"x1/8" angle on the INSIDE of the long, skinny piece:
I welded the angle in place, then welded in a piece of 2"x1/4" flat bar onto the rear:
With the additional bracing, the mount is EXTREMELY solid. You can shake the whole car instead of wiggling the mount. Both Ed and I are much more satisfied with the mount situation now.
And that is that. I hope you enjoyed this update and look forward to more from Today's work.