Fun Fact: Ed likes holes. He likes making them. He likes thinking about how to make more of them. Let me show you an example of what I'm talking about:
 That's the front bumper beam.
Here's another view:
 At this time, we realized that we had to really focus on finishing the core necessities, which prompted Ed to go about lightening things up by drilling as many holes as possible in things that I wouldn't have the time to make newer and lighter.
He even started to go as far as drilling holes into various brackets found around the car:

In tome cases, holes are bad, or at least prohibited by rules, and there were a bunch of holes that needed capping/filling in the floor of this car:


If you recall, I had welded in these angles and tabs to secure the fuel cell:
 Given the looming deadline, we opted to use the original fuel cell enclosure in the spare tire weel so I took everything out:

I had a bunch more holes to fill and took the time to add some extra area to the pads for the bar:

Next up on the agenda was mounting the custom radiator and oil cooler. This took a lot of figuring, but it all started with cutting out the top support:
 The support ha seen better days, as you can see by the hacking and the wrinkles in the next two pics:

 I didn't get pics of the next few steps, but basically, I cut the support back to the upright portion of the frame and then started making an aluminum piece to replace the upper support that bolts in.
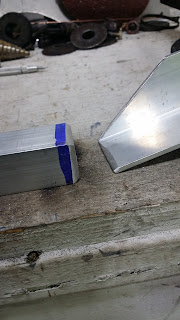
I started off with some aluminum angle that I trimmed one corner off:


Then I welded the angle onto a square tube cut to the correct length and had chamfered edges:


This is what it looks like so far:


 Not bad at all!
It is a bit hard to see in the next pic, but the center bolt hole on the header panel didn't exactly fit through the center of the tube, making it harder to figure out how to bolt it in place, like the stock support had provisions for:

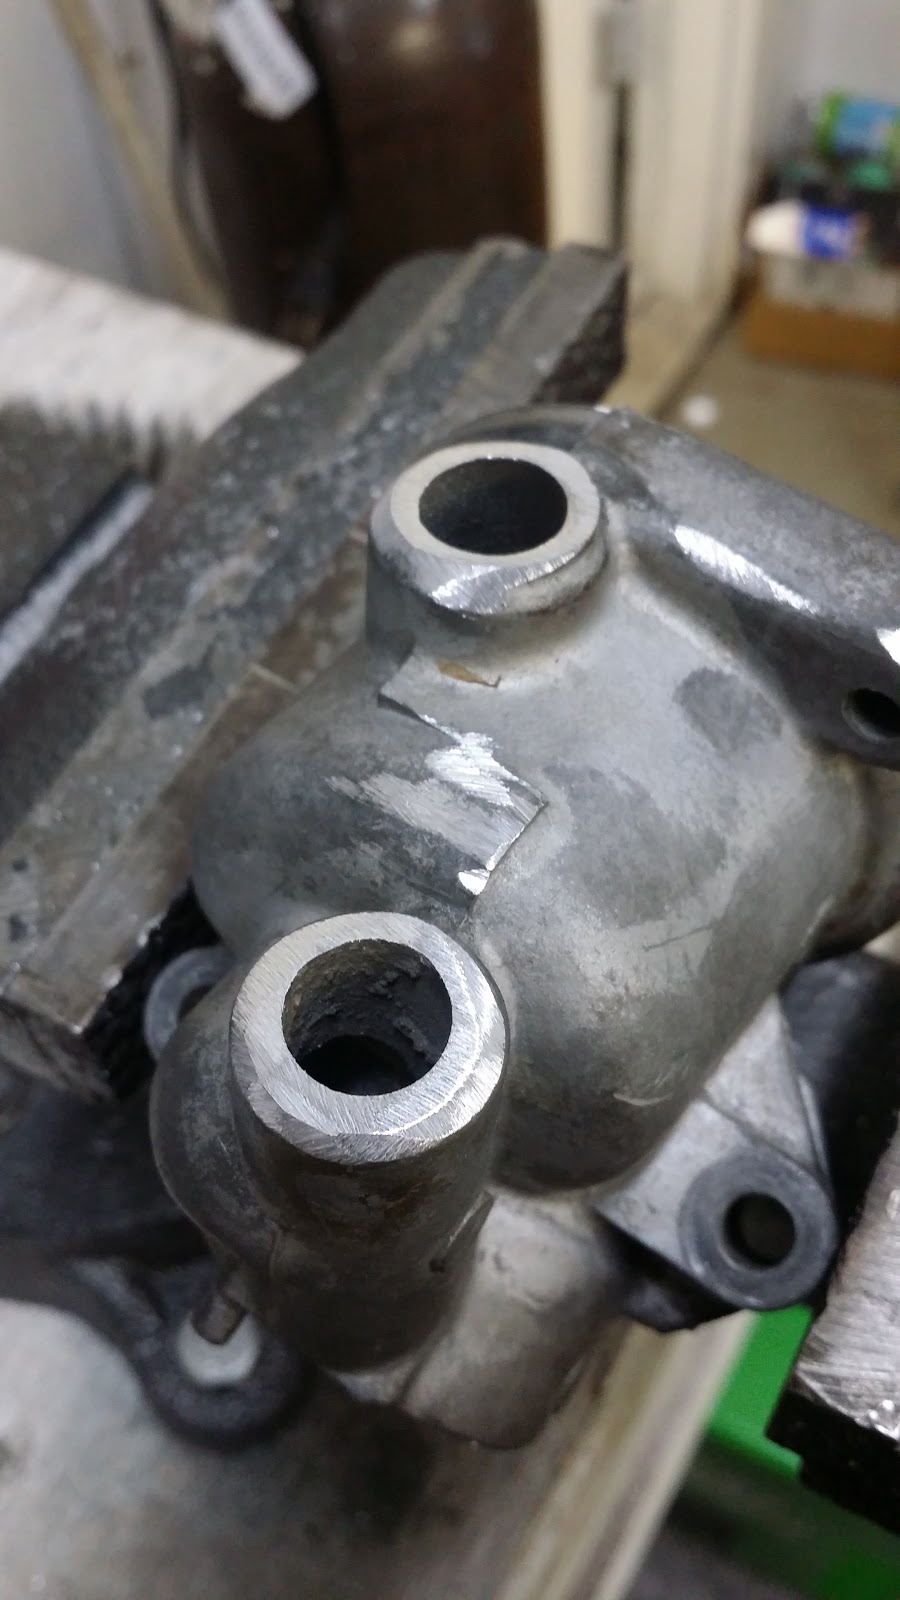
While I had the TIG welder out, I was asked to weld shut the t-stat housing openings for the heater core lines:

 You can plug them, but, well, I had the TIG box out and set up so it was much faster to just weld the openings and not worry about anything fancier.
To fix the header panel mounting issue, I figured the easiest way to do it would be to add a wider piece of the square tube in the correct spot to bolt the header panel to:
 Marking the sections to trim to have easy access to the back side of the bolt, and, well, it does make the piece slightly lighter:
 Cutting the cross bar:

Test measuring the cross bar with the new section added in:

Chamfering the edge to ensure good welds:

Getting creative with clamping to keep the warping to a manageable minimum:

Ready for welding:

Shazam!

 Not bad at all:

I also took the time to flatten out some of the previous push damage to even out the sections for better panel fitment:

The "passenger" side wasn't too bad, and just required a few taps to get things back into shape:
 That brings us to the end of this installment!

Here's another view:

He even started to go as far as drilling holes into various brackets found around the car:

In tome cases, holes are bad, or at least prohibited by rules, and there were a bunch of holes that needed capping/filling in the floor of this car:


If you recall, I had welded in these angles and tabs to secure the fuel cell:


I had a bunch more holes to fill and took the time to add some extra area to the pads for the bar:

Next up on the agenda was mounting the custom radiator and oil cooler. This took a lot of figuring, but it all started with cutting out the top support:


I started off with some aluminum angle that I trimmed one corner off:


Then I welded the angle onto a square tube cut to the correct length and had chamfered edges:


This is what it looks like so far:


It is a bit hard to see in the next pic, but the center bolt hole on the header panel didn't exactly fit through the center of the tube, making it harder to figure out how to bolt it in place, like the stock support had provisions for:

While I had the TIG welder out, I was asked to weld shut the t-stat housing openings for the heater core lines:

To fix the header panel mounting issue, I figured the easiest way to do it would be to add a wider piece of the square tube in the correct spot to bolt the header panel to:


Test measuring the cross bar with the new section added in:

Chamfering the edge to ensure good welds:

Getting creative with clamping to keep the warping to a manageable minimum:

Ready for welding:

Shazam!


I also took the time to flatten out some of the previous push damage to even out the sections for better panel fitment:

The "passenger" side wasn't too bad, and just required a few taps to get things back into shape:

Please leave me feedback either here or on my Facebook page, which you can find by clicking this link: Beaver Built on FaceBook
You can subscribe to receive new post notifications by entering your email in the box on the right of the article, by RSS feed or by FaceBook.
Thanks for reading and I hope you find this stuff useful or amusing or both. =)


