Tag Line

"Built Dam Strong!"

29 March 2014

Busted Sub, Part 6: Incompletion and Frustration

After work, I headed over to my friend Dave's place to knock out some lathe work. Everything started well. I got to work by grinding a tool for the bronze (which needs a sharper tip to the tool than many other materials) and started dialing in the machine. If you will excuse my phone being an utter retard and flipping this video, I did take a short video but it got flipped to vertical video. I hate vertical video. Anyway, here's the video:

Edit: The video should be fixed soon. Man, I hate vertical video.

This is a rough cut with the speed actually much too low. Everything smoothed out when I slowed down the feed a tad and cranked the speed up a lot.

I was cutting it dry. I suppose I could have used some oil, but this was cutting so well, and you can see finish here:


Bling, bling:

This is where I ended for the day:
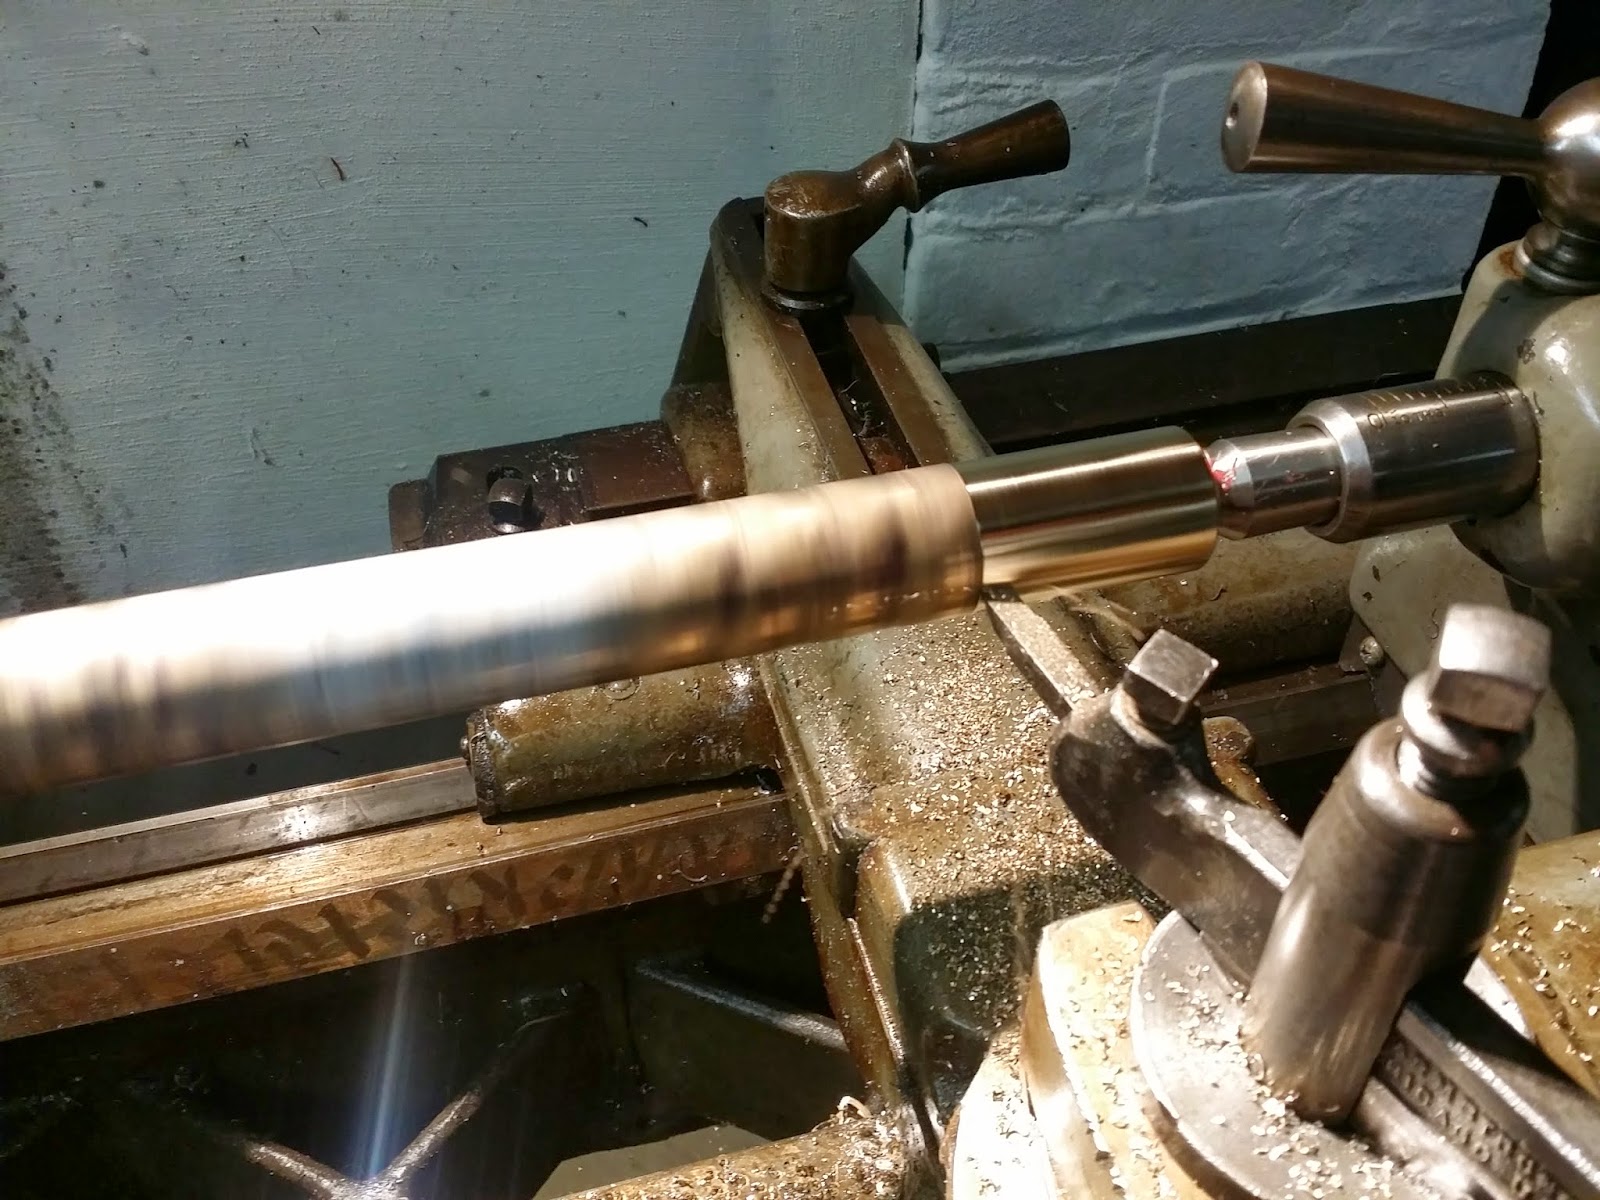
Those are the four bushings for the shift linkage yoke. As you can see, they are not drilled or reamed. The shoulders are also not faced to spec. So why aren't they done? I had to leave the premises in a rush for reasons of irrationality. That's basically all I'm going to say about the situation.

So, I won't be having any cool self-machined parts on my CRX for a while. I'll just be slapping everything together as soon as the weather breaks.

27 March 2014

Busted Sub, Part 5: Stitch weldling and taking apart a shift linkage

I accomplished two things after work today. I managed to stitch weld my new subframe and take apart a spare shift linkage. As always, on to pics. I seriously don't think most of you read most of what I actually take the time to write. heh

Okay, since the pics uploaded in sort of reverse order, you get to see how to take apart the yoke on a shift linkage first.

So this is a flap wheel:
 If you don't use these for cleaning and fab work, you are just plain nuts. They are better than the beave's knees. The only time I ever use normal grinding wheels is when I am doing really heavy grinding or cutting stuff (which I don't do much anymore since I have my portable band saw).

This is more of a side view showing how thick this particular disc is:
These things have a really mixed reputation. I can guarantee that the only people who speak badly of these things have used the cheap ones. I generally buy 3M, Norton and a couple of other decent name units.
Why would I spend up to $12 per disc? Two main reasons:
1. Durability. Generally, the thicker the disc, the longer lasting it will be. The problem with going thicker is that the attachment process must be more precise and just better to hold the higher mass together well. A good flap disc will last significantly longer than the cheap, Chinese ones you can get at HF and other low buck stores. You will get more than $12 worth of use out of one of these better discs. If you can catch them on sale on Amazon or eBay, you can score! Another brand to avoid is actually DeWalt, commonly sold at Homey Despot. While entirely better constructed than the HF discs, they last only a little bit longer and are EXTREMELY expensive for the amount of time you can use them. I'd rather you get the HF ones than those, as there is much better value to them.
2. Smoothness. You won't vibrate your hands into nerve damage. These things run smoother than just about anything else, absorb shock better, are balanced better and depending on the grit you use, will remove material almost as fast as a normal grinding wheel, which means less time grinding (also good for you hands and GSD (Getting Stuff DONE)!).

The only limitations to these are they they are not for edge use, unless you get a specific disc for edge use (they make them, I haven't used one yet). But, for anything flat, they rock. They give you unparalleled control so you can just smooth things over or you can honk down on them and really get the material moved. I love them. You should use them, too, IMO.

ANYWAY, here's the end of the shift linkage that causes most shifting headaches:

This is the other end, attached to the stock shift lever:
 As you can see, all the plasticky bits are falling apart:

 That's the bushing that fits into the end of the stock shift lever. The rubber o-rings, meant to dampen vibrations, are shot, and the thing just fell out when I unbolted the lever from the linkage.

Here are a couple of shots showing how rough the plastic sleeve is inside the end of the shift lever:

Just slap that in and call it good, right? No, thank you. 

I missed a few photos, so bear with me while I explain some things. Take your flap disc equipped grinder and take down the pressed ends of the pins holding together the parts of the parts of the yoke like so:


Then pry the tabs apart and pop everything apart! It's really just that simple. Yes, you'll have to bend the tabs flat, but as long as you don't go overboard, that's totally fine. It's good steel, not aluminum.

This is another source of slop:


 Those plastic bushings just plain wear out. The metal pins rust. Icky, icky, icky, and not good for your transmission at all, either!

The other end of the linkage, where it bolts to the bottom of the shift lever was pretty groady, so I took a knotted wire brush (mounted on the grinder) to it, so it went from this:

To this:
 It will be getting painted after it is cleaned thoroughly.

Now, on to the subframe.

I took the aforementioned knotted wire brush and took off the gunk and as much of the paint as I could from strategic locations:


Then I fired up the trusty Lincoln MIG box:
 

And got my stitch weld on:

No, I didn't get any closeups. Some of the welds were nasty. What do you want for MIG welding through paint and crap? It's not that big a deal.

Now a word about doing this kind of stitch welding. The goal here isn't to go crazy. It's to tighten up the structure a bit. Avoid stitch welding corners. They are stiff enough and if you do that, you'll make something like this TOO stiff. For a street car that might get curbed again, if you went a little nuts and welded the whole thing, blasting even the corners togethe, your frame will get tweaked, too. This is bad. If you had a race car and wanted maximum stiffness without going to a tube frame unit, then go nuts. This is more than enough for a street car. 

That's it for this evening. I ran out of light. I am satisfied with the progress and having a good subframe to work with. It will get cleaned up and painted. I'm going to ask if I can use the pressure washer at work. That will take care of all the gunk super-quick-fast. 

New subframe looks good!


It even came with a sway bar! 

Now I think I have everything car part related ed to start putting stuff back together if the weather would cooperate. 

25 March 2014

General CRX update

This is mostly just some observations and plans that I'm putting down here to help clarify the steps I need to take to get my CRX back on the road.

I was measuring a bunch of stuff on the subframe. The holes for the bolts that hold the subframe to the frame are really wonky, with no real exact sizing for the bolt holes. The reason why I am interested in this is since it is taking a while to get a new subframe, I have contemplated making a set of "rigid collars."

Basically, watch this video if you want to see what I'm talking about:


Spoon, the company marketing and selling these things, doesn't  make a specific set for the CRX. A knock off company might, but I refuse to use anything from that company since they are just a real scuzzy company to start with. So, the options are to make them myself (or coerce my friend into making a set for me) or do without. I don't mind just normally reinstalling the subframe, but, if you know me, you know I like to improve things when I can.

I'll also be taking the liberty of stitch welding the subframe as my friend Steve suggested. It wold take too long to fully weld it, and honestly, for a street driven car, I would not recommend doing that. If you make the subframe too stiff, if something like hitting a curb happens again, the frame of the car will get bent, not just the subframe as has happened in my case. Stitch welding it will make it a bit stiffer and stronger while not going completely overboard with the time that would take.

Thinking along the lines of stiffening things up without getting silly, I bought these:


Prothane's steering rack bushings for the CRX. These will likely be the only red bushings you will (n)ever see on my car. The red ones were Prime eligible, the black ones were not, much to my annoyance. They are under the car. I'm not that annoyed. For $12.50 after taxes shipped, I won't complain, either.

I AM annoyed that the kit doesn't include new metal inserts. I hate putting old inserts into things. Again, I remind myself that it isn't a big deal since no one can see it and it doesn't matter if they are mucky because that doesn't effect the functionality one single bit.


I'm also looking at possibly having my suspension pieces powder coated if I can find a place that will do it in a timely fashion for not too much money. The weather this week and weekend is NOT conducive to getting a good paint coating on anything. Powder coating is a heck of a lot more durable than just about any spray can paint you can get. This is only a remote possibility, though. I'm not stressing about this too much, as, honestly, any paint on the stuff will do nicely compared to the bare metal that the suspension normally has.

Another issue I am fixing is my shift linkage. Holy crap is it beat the heck up. The joint is so sloppy, I am surprised it shifted as well as it did. This is also a bit more complex than most jobs, too, since this is something I've deemed necessary and the priority for any fabrication getting done. (This is much more important than the rigid collars, which are only something I'd like.) I've measured up all the hard parts on the shift linkage in order to design a set of bushings to replace the plastic bits that inevitably are worn well past any serviceability. These bushings are to be made from bearing bronze. I chose ASTM B505 (also known as 954) bronze, which has very good properties that make it nearly perfect for this application, especially considering the price and availability.

Here's a crappy Google Sketchup view of the bushing set:

The two taller bushings are for the yoke at the transmission end of the shift linkage. This will be pressed in place of the plastic stuff. The shorter bushing set is for the end of the shift lever itself. The flat washer is to be pressed into the side of the yoke to reduce the one larger hole down to the 8mm that the rest of the holes are. I will bolt everything together and use nylock nuts to prevent the bolts from backing out. I might, in the future, get a little fancier with retaining tabs or safety wire, but, KISS rules this operation.

That being said, I'll also finish my shift knob and be able to finally install my custom ginormomungous (That's a Beaver Patented Word, right there!) shift lever, which I am really, really dying to try.  

I've got a new rear engine mount bracket coming soon, too, for the price of shipping. That's pretty darn awesome!

Other issues and things to take care of:
1. Install my MTX-L wideband and hardwire it to the stock O2 sensor input with a switch to switch between simulated narrowband and the full wideband signal. (Very useful, honestly. I like having the ECU checking AFR when cruising, quite frankly, and you can trick the ECU into leaning the engine out for better fuel economy if you reprogram the inflection point of the narrowband output!)
2. Fix the main ground wire that got knocked loose from the connector.
3. Possibly make a battery tray for the cute battery I am using, as I really don't like the ghetto way I have it strapped onto the stock battery tray for the moment.
4. Install the ES shifter bushings.
5. Finally get my new IAT sensor installed so I can finish 
6. If I can get the rigid collars made, prep the chassis and new subframe for installation of the rigid collars. (More on that if it happens, but I do have a plane to make things a lot easier on myself.)

Okay, I think I'm done rambling for the night. I'm beat. I didn't feel so well today and work today was a mess of "stop that, do this NOW" and I will finish my chamomile tea and go to sleep.

23 March 2014

Busted Sub, Part Three: How the heck did that happen?

After a pretty retarded faux pas, everything is out! I also found some pretty odd things along the way and learned a bunch of stuff.

Here's the subframe with the steering rack still in it:
I'm not bothering to take it out. It is really hard to move, and the subframe is bent, so I may just pitch them after I get the steering rack rebuilt (really simple) and the new subframe.

I have no idea how this happened to the rear mount bracket:
 I didn't see the missing chunk, so it might have been like that years ago? I really don't know. I'll get another mount bracket or if I can't easily find one, I'll just fix it. It's really simple to do, but will take a while.

I didn't know that the front passenger bolt hole for the subframe is an ellipse!
 I suppose they do that for some wiggle room when assembling?

I had no clue why the steering rack wasn't seperating from the yoke that attaches the rack to the column. I had loosened the bolt, and there was some wiggle, but it just wouldn't drop! The reason is pretty simple. There is this machined groove in the pinion:
 The bolt that pinches the yoke onto the splined portion of the pinion slips into that groove to prevent it from separating. I simply had to take the bolt out. Duh.

This is what the yoke looks like:

Obligatory broken tool:
 I love those pliers. They are pretty long and great for reaching into things and picking things up. I snapped the jaw trying to leverage out a cotter pin from one of the lower ball joints. Oops.

Here's my crusty engine bay. It will be getting cleaned up and some things on the engine address while I am going through all this.


I've got new Prothane polyurethane steering rack bushings on the way. I;m hoping to get a new subframe early this week. I'll be working on it to improve it's stiffness by selectively stitch welding it, as a friend has suggested after he did his. I have some special things planned for the shift linkage, which is pretty darn loose. I'll probably do an oil change, change the spark plugs and install a new valve cover gasket as the current one is old and leaking atrociously. I have an Hf front swaybar that will get installed with new endlinks, too, in place of the stock Si unit. I am curious as to weather or not I will feel that with all the new bits going on the car. I would have started painting some of the parts I sandblasted, but it was too cold and windy. We'll have some warmer days and I'll be painting that stuff. I have some more blasting to do on the knuckles and brake dust shields, but that should be it.

Stayed tuned. I think there should be a lot of updates this week!

Busted Sub, Part Duex: It's all gone!

Well, the suspension anyway.

A few pics, as promised, though belated:


 Those are likely the original radius rod bushings. They were so very squishy when I was taking them off. I bet just replacing these would make the car feel a heck of a lot better!

Suspension gone:
 My CRX has never had this much suspension removed at one time. Never.

Last pic:
All the ball joints are trashed now. They weren't before. (I check them and many other things pretty regularly.)

A friend is going to help me source a subframe locally. I really don't want to have to pull the suspension and everything else off of a junkyard car, at a junkyard, with it stacked awkwardly and unsafely as many things are at junkyards.

I slept in today, as it is my one day to do so now that work is back to 6 days a week. I'm either borrowing my mom's CRV or will hitch a ride with my dad. (He works for the same company a couple towns over, so it isn't ideal, but it's feasible to hitch a ride with him for a bit.) I am going to do this as correctly as I can, even if it takes some time, as I know that I will never be happy if I just slap crap back together, as I would never want to take it all apart to fix it again. So, I'll be doing this right from the get go. Yay.

21 March 2014

CRX Update: Subframe is tweaked. Ugh.

Pics.

 Yeah, so I needed it. The new one fits really tight. No more gas smells for me.

Here's the hole in the passenger side front tire:

Fuzzy pic of the curb damage on the front driver's side. 
 I have no idea how this happened:

These are terrible pics of hard to see stuff:

In the above pics, if you look closely you can see fresh rust and cracked paint, signs of where it is tweaked.

So. Options. Pull it and fix it or pull it and get a junkyard one.

Either way I am pulling the entire suspension and steering off. Yay.

19 March 2014

Meh. I curbed my CRX.

Pics to follow of rim road rash, blown tire.

Steering is buggered. Still managed to drive it. This pushes things up significantly.

Double meh.

It is an opportunity to improve, so I'll takeit.

16 March 2014

You want to touch my knob, don't you?

I had a lot of fun making a shift knob! I had some really nice stainless round stock for a long while. With my friend's recently acquired lathe, I wanted to try it out! We were both rather skeptical of the machinability of the stainless, especially on a smaller lathe like the South Bend Heavy 10, but after some tweaking, we were both really happy with the results!

Here's my friend Dave getting things dialed in:

Shiny!

I really like this lathe. It works really well, especially with a VFD running the motor. It's nearly silent with the back gears disengaged. It can turn some really smooth cuts!
We actually had to set up the 4 jaw chuck and indicate the bar in. Neither of us had done that before. It went surprisingly well. Once we turned the bar down far enough, we got the three jaw chuck on and got to work tapering one end down:


This would have been easier had we had the taper attachment working, but it isn't and that's another story.

 Final pass complete:
 Look at how shiny that last pass was! That wasn't even with any polishing. Dave has a darn steady hand.

After the tapering was done, we tried parting the piece off at about 4", but the parting tool is honestly horrendously terrible. All we got was nasty chatter:
 Ew. So, we went medieval on things and lopped it off with a hack saw (while it was spinning, and no it isn't as dangerous as it sounds).

I missed some pictures in the processes, but we flipped the knob around and I chamfered the edge by hand then rounded it over with a file.

Then we got a wild hair up our butts and decided to try to knurl the end of the knob. I figured that if we boogered it up, we could just turn off the failed knurls and no one would be the wiser! heh

Here's Dave setting the knurling tool:
He had heard a tip that you set the knurls slightly off of perpendicular, so the knurls will "bite" better and have a better chance of following each other. If you look at he pic above closely, the rollers have a spiral groove pattern, which basically rubs the surface and pushes the material into the grooves. The bottom roller has the opposite pattern on it, and when the gears roll over the same surface, they create the classic diamond knurl pattern:
 We were shocked when we stopped the lathe and the pattern came out perfect! I'd only tried knurling a couple of times before without a huge amount of success. We didn't go too deep, as that can get pretty abrasive, but the patter really shows and gives a really satisfying texture on the top of the knob! AWESOME!

We flipped the knob around again and polished the thing up with some sandpaper. (I think it was 180 grit.)
 Notice the piece of paper wrapped around the knob. That keeps the teeth of the chuck jaws from digging in to the work, and in some cases, keeping the work from digging into the chuck jaws (though that is rare since they are hardened, usually).

LOOK AT THIS THING! IT IS AWESOME!
 It's fairly large. It's about 1.5" diameter. The small end of the taper is about .750".
 It feels AMAZING. I'll try to weigh it some time, but it is pretty heavy.

The last thing left is to drill and thread it:
 I forgot the thread size, didn't have my tape set and want to be sure of what I am doing before I actually possibly ruin all the hard work and fun that went into this thing!

It's so awesome, kitty approves!
 My friend liked mine so much, he mad his own the next day:
Having access to a lathe is frickin' amazing!