Tag Line

"Built Dam Strong!"

05 March 2016

Funky-Fresh Fab: Under the gun, lots of final things in the final push before Daytona

Pushing towards Daytona! Lots of little things had to get done to get the car running and rolling.

Here's how the interior was shaping up:

 The dash was painted, the Traqmate system was installed, the accusump and most of the wiring was completed.

For some reason, the Hytech header O2 sensor bung was placed so it pointed directly at bodywork, so, I added a new bung on the opposite side:

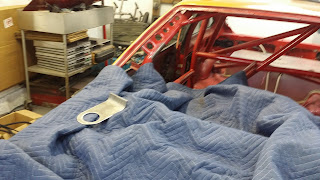
The interior was a bit crusty:

But I cleaned it up as best I can:

Ed wrapped the header since it seems to have been built for a stock pan, and with the Moroso it was actually touching header.


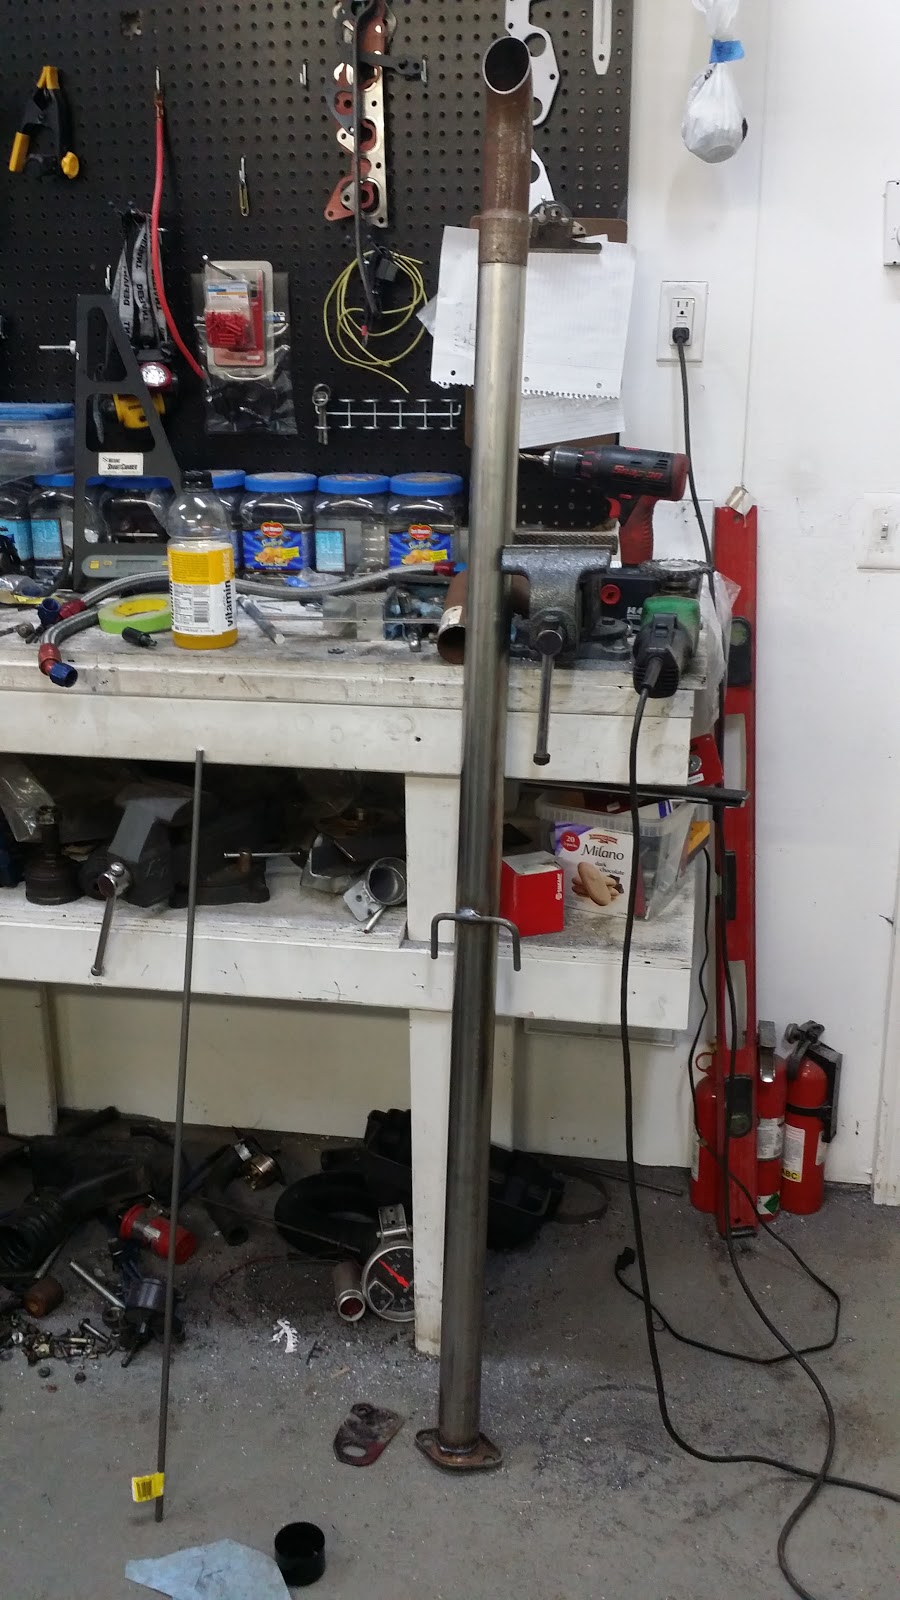
Next up in the front tow hook mount:
 Let's scribe some lines:
 And make some cuts, but not all the way through:

 And then lets bend it:
 Why am I doing this? Ed decided that the best place to mount the tow hook was high on the roll cage sticking out the front window!
 The cuts allow the plate to bend around the cage tube.

Cleaning up for the welding, and protecting all the wiring (the ECU was right below where I was welding!):

I love it when welds look this good:

 To prevent deflection at other then parallel pulling forces, I added in a simple plate:


 This works super well! The hoop barely moves.

Ed made a heat shield for the header since it comes really close to the radiator:

Another fast fab mini project:

Mounting the passenger side pull handle for the fire suppression system:


And then I knocked out some mods to the sway bar end links:


Now something that was just dumb and frustrating and eventually caused a lot of headache at the runoffs:

If you install the upper radiator hose, how is the hose to the overflow bottle supposed to fit?

The first thought was to just weld on this nipple:
 But that didn't work out well . . . So plan B:


That worked well . . . until the track, but that is another story. 

13 February 2016

Informational Post About CRX/Civic/Integra (and others) Wheel Stud Options

In my quest to tweak nearly everything I get my hands on, I often have to think outside the box in order to find something that works "better" than stock parts. I have been asked a few times to post about the following information, so I will, and will discuss a few other options that are popular but are less than ideal, in my opinion.

So, why does a body need longer studs than stock in the first place? There are three reasons that come to mind. 

1. Brake Clearance
If you have larger than stock brakes installed, or are trying to fit the smallest possible wheel and tire combo on a car (for example, running 13" slicks on a drag car), you may run into the issue where the diameter of the brakes and calipers might clear the inner surface of the rim, but the spokes foul on the caliper. Yes, sometimes you can grind a bit of the caliper shoulder to gain the needed clearance, but other times, it is better to run a thin spacer. (Side note: ALWAYS RUN HUBCENTRIC SPACERS!) While it is possible to run a thin spacer with stock length studs, it is NOT advisable at all. Just don't do it. You want more than a few threads engaged, especially if the roads are as bad as they are where I drive. 

2. Tire Clearance
If you are running wider tires and rims and the wheel offset isn't exactly perfect for the particular combo, you may get some tire rub when turning, especially at the ends of steering travel. A thin spacer can prevent this from happening, keeping your paint or splash guards intact.

3. Competition Requirements.
Many competition sanctioning bodies have rules in place that require the ends of the studs to be visible past your lug nuts. This is to make sure that the nuts are threaded on enough to keep the wheels on the car. If the wheels come off the car, you are now a danger to everyone else and yourself on the track/strip. While stock studs MIGHT meet this requirement depending on the wheel nuts used, having longer studs will remove and doubt about meeting this requirement.

Now, lets get in to some available options!

Here are some part numbers for you:

Stock replacement:Dorman PN: 98436
M12-1.50 Serrated Wheel Stud 
12.22mm Knurl, 36mm (1.42") Length


Longer replacement:Dorman PN: 98501
12-1.50 Serrated Wheel Stud
12.80mm Knurl, 54mm (2.125") Length


The .6mm difference equates to about .024” difference. This is not an issue if you have a decently sized press, as they should press in nice and securely without any need for tacking. 

In my research on replacements that are longer than stock, I came across people using the stock studs from the Acura TL. While these are a very good quality option, there are some issues that prevented me from advocating these as a viable replacement. Let's look at the specs:

Acura TL replacement:
Dorman PN: 98518.1
12-1.50 Serrated Wheel Stud
12.34mm Knurl, 48mm (1.89") Length

However, the knurl on the the OEM TL stud does NOT always press in correctly, leading to a wobbly stud or one that may spin in the hub, preventing the nut from coming off easily. The fix for this requires tacking to secure properly. If you don't have a welder handy, this isn't safe. I also do not prefer to have a stud welded on a street vehicle, since they will eventually need to be replaced at some point (if you actually keep and drive your cars regularly). These Dorman parts should press in just fine, though.

Let's look at the next option:

ARP wheel studs, AKA The Roman Chariot Blades of Doom/Calf killers:
ARP Part Number: 100-7711 (4 pack)
12-1.50, 12.34mm Knurl, 72.4mm (2.85") Long

These are the things you seen on nearly every track car. They are extremely strong and have features not commonly found on most OEM studs. Firstly, there is a projected, smooth nose. This facilitates rapid nut installation. (ALWAYS SPIN THE NUT ON A FEW THREADS BEFORE APPLYING A POWER TOOL TO A WHEEL NUT!) Second, the threads are roll formed. Here is a video I found that explains many of the benefits of roll formed threads:

I don't know if ARP uses this exact type of process pictured in the video to form their threads (I wouldn't think so, as that looks optimized for doing longer bar stock and not shorter studs), but, the explanation of the benefits is very good.

The extra length also helps get wheels on faster, and the rounded nose of the studs really does help align the holes in the wheel hub, which can be important if you are doing fast tire changes in an Endurance race or any race where pit stop time is critical. 

I generally won't run these long ARPs on any street car since they just get annoying when working around the car since I nearly always seem to smack my legs on them as I walk and work around the car. That might just be a personal problem, but, well, it is there. 

So, there you have some options with various pros and cons. I usually order stuff through amazon, but most of the part numbers don't come up. You can get these studs at nearly any parts store, even if they don't have them in stock. 

Let me know if you find any other options that might work. I did see a few others in the Dorman catalog that could work, but I think the ones above are what are easiest to find for most situations. 

Please leave me feedback either here or on my Facebook page, which you can find by clicking this link: Beaver Built on FaceBook

You can subscribe to receive new post notifications by entering your email in the box on the right of the article, by RSS feed or by FaceBook. 

Thanks for reading and I hope you find this stuff useful or amusing or both. =) 

12 February 2016

Funk-y Fresh Fab: Exhuast-ing Work

Another catch up post!

Here's the oil cooler plumbed in:

 This was pretty easy since it was pulled of a spare car and not too much needed to be done, and, thankfully, I didn't have to do any of the plumbing or much of the wiring!

The next thing I turned my attention to is the exhaust. The coupler for the exhaust to header joint wasn't in all that great a shape. There was some substantial crap inside the original welded section, so I cleaned it up, welded a bead around the whole circumference and then ground it smooth:


The outside got a good cleaning, too:

 I made sure to match everything up as well as possible:

Yes, I just MIGed the pieces together with regular steel wire:
 It's not that critical. Honestly.

Here's the interior after the welding:

Hey, would you look at that, I cleaned up the inside, too:
 Bolted everything together:

I love having a 4 post lift with the "alignment jack", as it made positioning the exhaust super easy:

A simple bent piece of round stock becomes the center mount:

Here it is ready to be welded:

The end of the exhaust needed a turn down, but the only bend we had didn't match the exhaust, so I flared it a bit:

This is the ONLY flaring tool I will ever use:
 It is heavy duty enough to be impact rated, and is really the only way to go for any exhaust stretching needs.

To finish the turndown, I simply taped the bend to be parallel with the leg:

Then zipped it off with the bandsaw:

A few minutes later, it was welded together and the exhaust for Daytona was complete:

Almost. heh

I didn't like how close the end of the exhaust was to the brake line for the rear brakes:

But that was easily solved with some header wrap leftover from wrapping the header:
Daytona doesn't have any sound regulations, which is unusual for most tracks. That is why there is no muffler in this system. This is in process of being corrected for this year's racing, as some of the tracks the car will be running at do have some fairly stringent sound control regulations. Not terrible, but, we definitely need a muffler or three. HAH!

The next big thing was to get the intake tube worked out!

As you can see, it isn't a terribly complicated piece:

Some decent enough welds holding it togetherL

That is where I will leave off for today.

Please leave me feedback either here or on my Facebook page, which you can find by clicking this link: Beaver Built on FaceBook

You can subscribe to receive new post notifications by entering your email in the box on the right of the article, by RSS feed or by FaceBook. 

Thanks for reading and I hope you find this stuff useful or amusing or both. =)