Anyway, lets begin!
This is one of my favorite things about DOHC engines:

I used the timing belt to hold the cam gear in place to take out the stubborn bolt!
This is how I keep the cam keys from disappearing:

I've never had the cam gears off of this engine before. I never had a reason to pull them off.
View minus the gears:

As I mentioned before, I am starting to replace a lot of the bolts with the SS hardware I purchased from Alloy Boltz.

This is why we replace our coolant regularly:

Setting the timing:

Looks like I need to replace my spark plug tube seals:

Gates Racing belt in place:

I'm also experimenting with the valve cover hardware:


I settled on the middle nut. Acorn nuts can look OK, but the new SS ones are a bit too tall in my thinking.
Mostly back together:


Since the guy at the shop also sandblasted it, I had to paint it. As you can see here:

Hitting it with my favorite Duplicolor self-etching primer:

Hitting it with matte black:

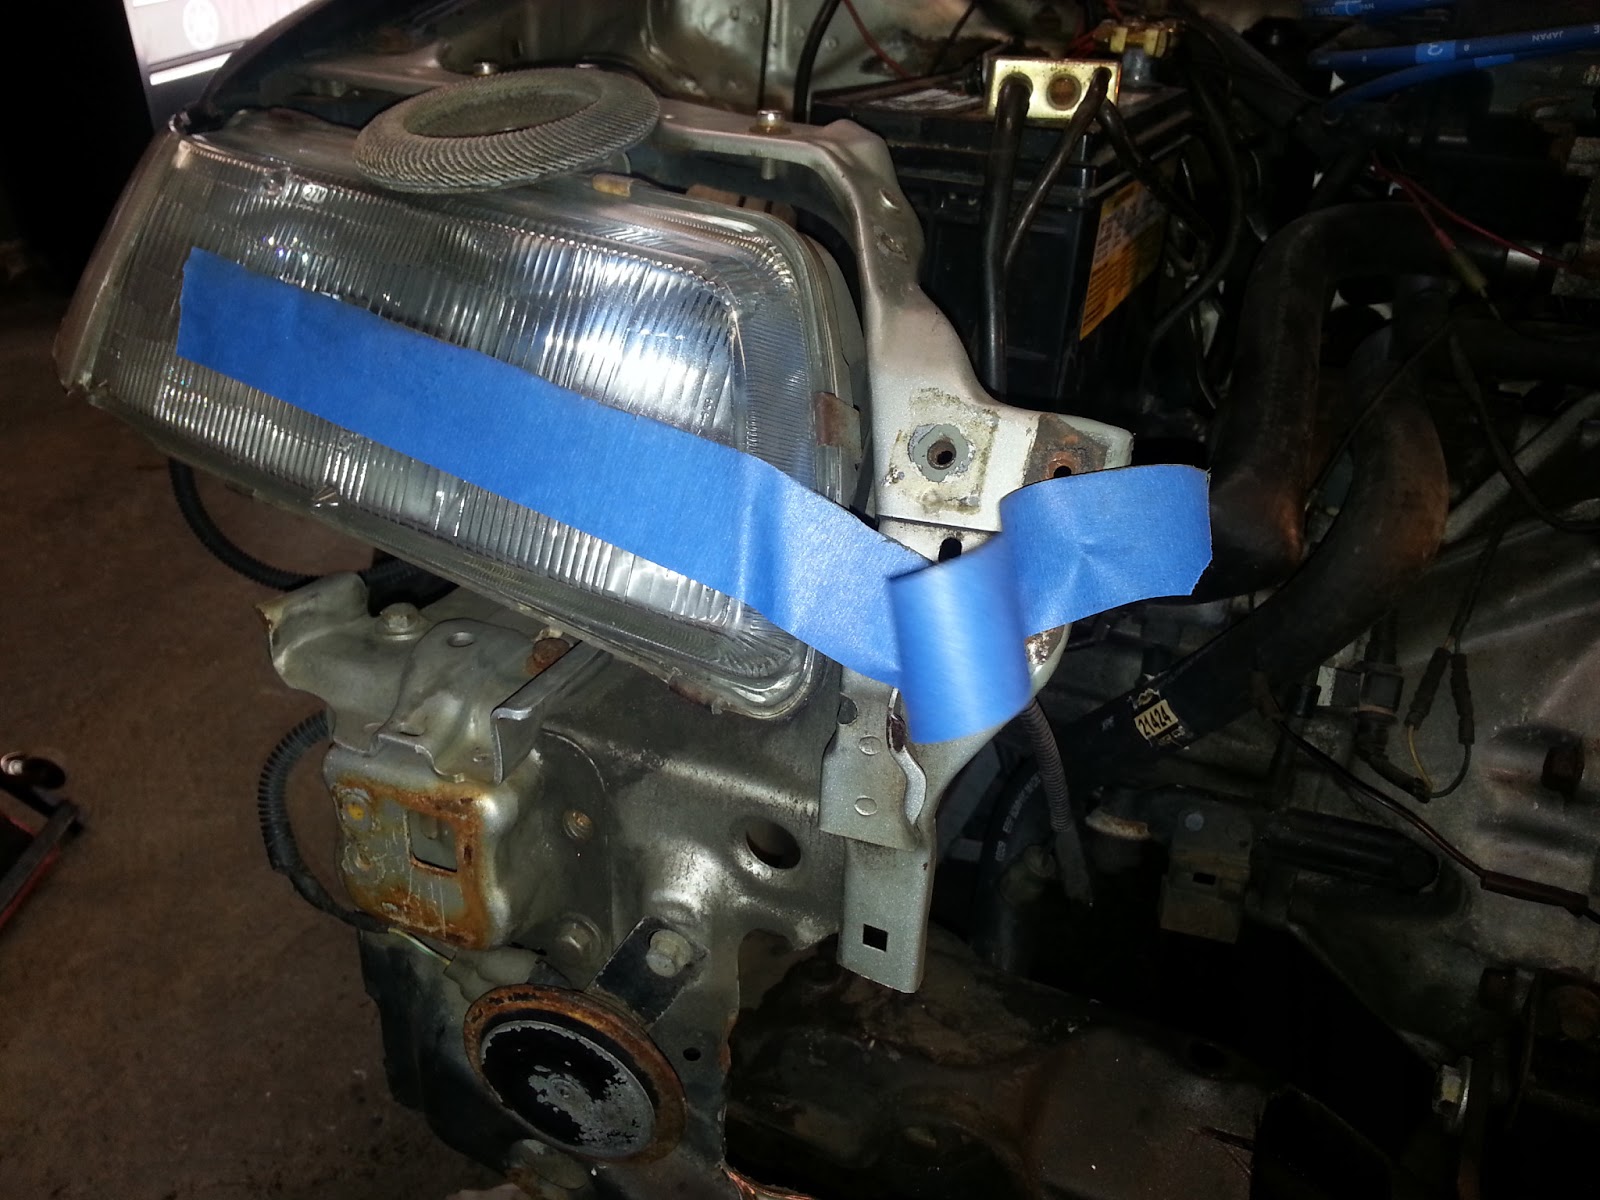
Here I am making a new headlight harness based on the one in my CRX, for a friend's '91 LX:

I got these ceramic sockets on eBay:

Here is the pulley after it had dried more:

One of the next jobs was to remove the oil and coolant lines, capping them off as I don't need them at all for now.

Finally into the garage for serious work:


This is the old turbo downpipe and exhaust:

It was originally made to fit a ZC pan, which is substantially different than any of the SOHC pans, so it had to get clearanced with a hammer when a new pan was put on:

Muddy exterior thanks to Anthony tearing up the lawn with his quad:

One of the issues I almost forgot to fix was capping the fitting in the back of the block:


I was worried it would leak because the cap comes DARN close to not clearing the body, but it snugs down perfectly and does not leak at all. Phew!
Here is a peak inside the factory oil/coolant heat exchanger:

PG6 crank girdle, which is aluminum:

Everything looks good from the bottom:

I change my oil regularly. No sludge. heh
In progress:

New SS gasket, so much better than graphite:

Pulley installed:


New pan on with the nice blue Fel-Pro Permadry oil pan gasket that I think leaks a wee bit on the pulley side:

EP header on:

Stock narrowband O2 sensor in place:

Installed the Bosch LSU sensor at the collector:


Double checking the cam timing and re-installing (and stripping out a nut on) the (darn) engine mount:

I forgot to drain the transmission before pulling the intermediate shaft out:

New seal for the IS side of the transmission:

I had boogered up a customer's TPS doing an F2B swap earlier, so I cannibalized the one on my CRX for his car. I bought a new one. The sensor itself and gasket are good:


But the bolts that come with it are totally wrong:

So I just reused the slotted ones I've had forever on my TPS:

Timing finalized:

Finally dug my Thermal R&R 2.25" exhaust out from all the crap in the backyard:


Now for one of the scariest things ever:


Old school CRX goodness:

Tuning setup prepped:


Received new 370cc injectors from HiProfile at Injector Nation:


Very nice 4 hole directional nozzles:

Hrmph . . . The injector for cylinder #1 doesn't fit the way it is intended to because of the valve cover mounting boss:

I rescaled my fuel maps for the injectors and the engine started right up!
Then I got the headlight harness installed, and it still works super well:


The one issue I had with going back to a non-turbo configuration was that I didn't have a cat to fill int he space between the header and the exhaust. I asked around and found one for free! It just didn't have a flange to mate it to the exhaust, but that really wasn't an issue since I have a welder and might know how to use it. Just a little! Here I am taking off the cat from the D15 spacer adapter thingy that came with the cat:

I cleaned up the end of the cat tube with a flap disc:

Then I measured and cut a piece of the aforementioned extension tube to weld to the cat:

Then I shimmied under the car and got to tacking the pieces together, then pulled the cat off and welded it up!

While I was doing that, I took the time to paint the front of the radiator:

More self-etching Duplicor:

Speaking of the radiator, the EP radiator I got just didn't fit well at all in my CRX, so much so that I couldn't properly close the hood. That was a huge issue that I needed to tackle, as I've had a hood come up on me before and ruin the hood and the windshield and I didn't need a repeat of that. Ever.
So here is what I started off with:

This cutout in the crossmemeber was made to clear the lower radiator hose:

This is the front rad support piece hacked to clear the radiator:

The easiest way to cut a pretty straight line on something is to simply use a piece of painter's tape as a guide, like this:

I also used the flap wheel on some of the corners that was just left sharp and annoying:


Here is the top after trimming:

I am frugal. The tape still has one good edge (the side near the cut will likely get charred from the heat of the cutting), so I just peal and stick it out of the way for re-use:


Self-etching primer takes some time to work. You are supposed to wait at least one hour (or is it half an hour? I forget, RTFD) before topcoating, so I did, and then left this out in the sun to dry:

Yes, I did just say I prefer Duplicolor, but not everyone carries that, so I did get this:

And no, I am not worried about any cooling issues from painting the radiator. I've done it before and will do it again. Stop worrying and GSD. (Get Stuff Done.)
While the black was drying, I finished trimming the bottom of the rad support to clear the thicker radiator, and also removed the stock radiator bracket on that side:

The radiator needed to move more towards the passenger side to clear the hood, so I needed to mod the crossmember, again. So, I made one precise incision:

Then I applied some BFT (Blunt Force Trauma) with a BFH (Big Effing Hammer):

Then I trimmed the piece that was just hanging out for no good reason, waiting to skin someone's finger to the bone:

I apologize for the taco-neck view, but here is that tab removed:

And here it is:

Now that I had enough room, I needed to figure out how to mount the radiator itself, so I got some 1/8" steel flat stock from HDRS (Home Depot Racing Supply) and started cutting and bending:

And drilling and grinding:


And recessing and welding:


Once I got the first mounting tab in, I compared it to the previous location:

Waaaaaaaaaaaaaaay better!

Then I took everything apart to work on the second mounting tab:

Ta-da!

More self-etch and flat black over a cursory cleanup:

Doesn't that look so much better now?


I also gained a good bit of clearance for the header, too:

And, imagine that! The hood CLOSES! AND OPENS!

Well, it did after I got the locking mechanism unstuck:

The last part was taking the old top bracet:

Beating it about a bit:

And bolting it into place:

Next order of business:

New SS bolts and fender washers:

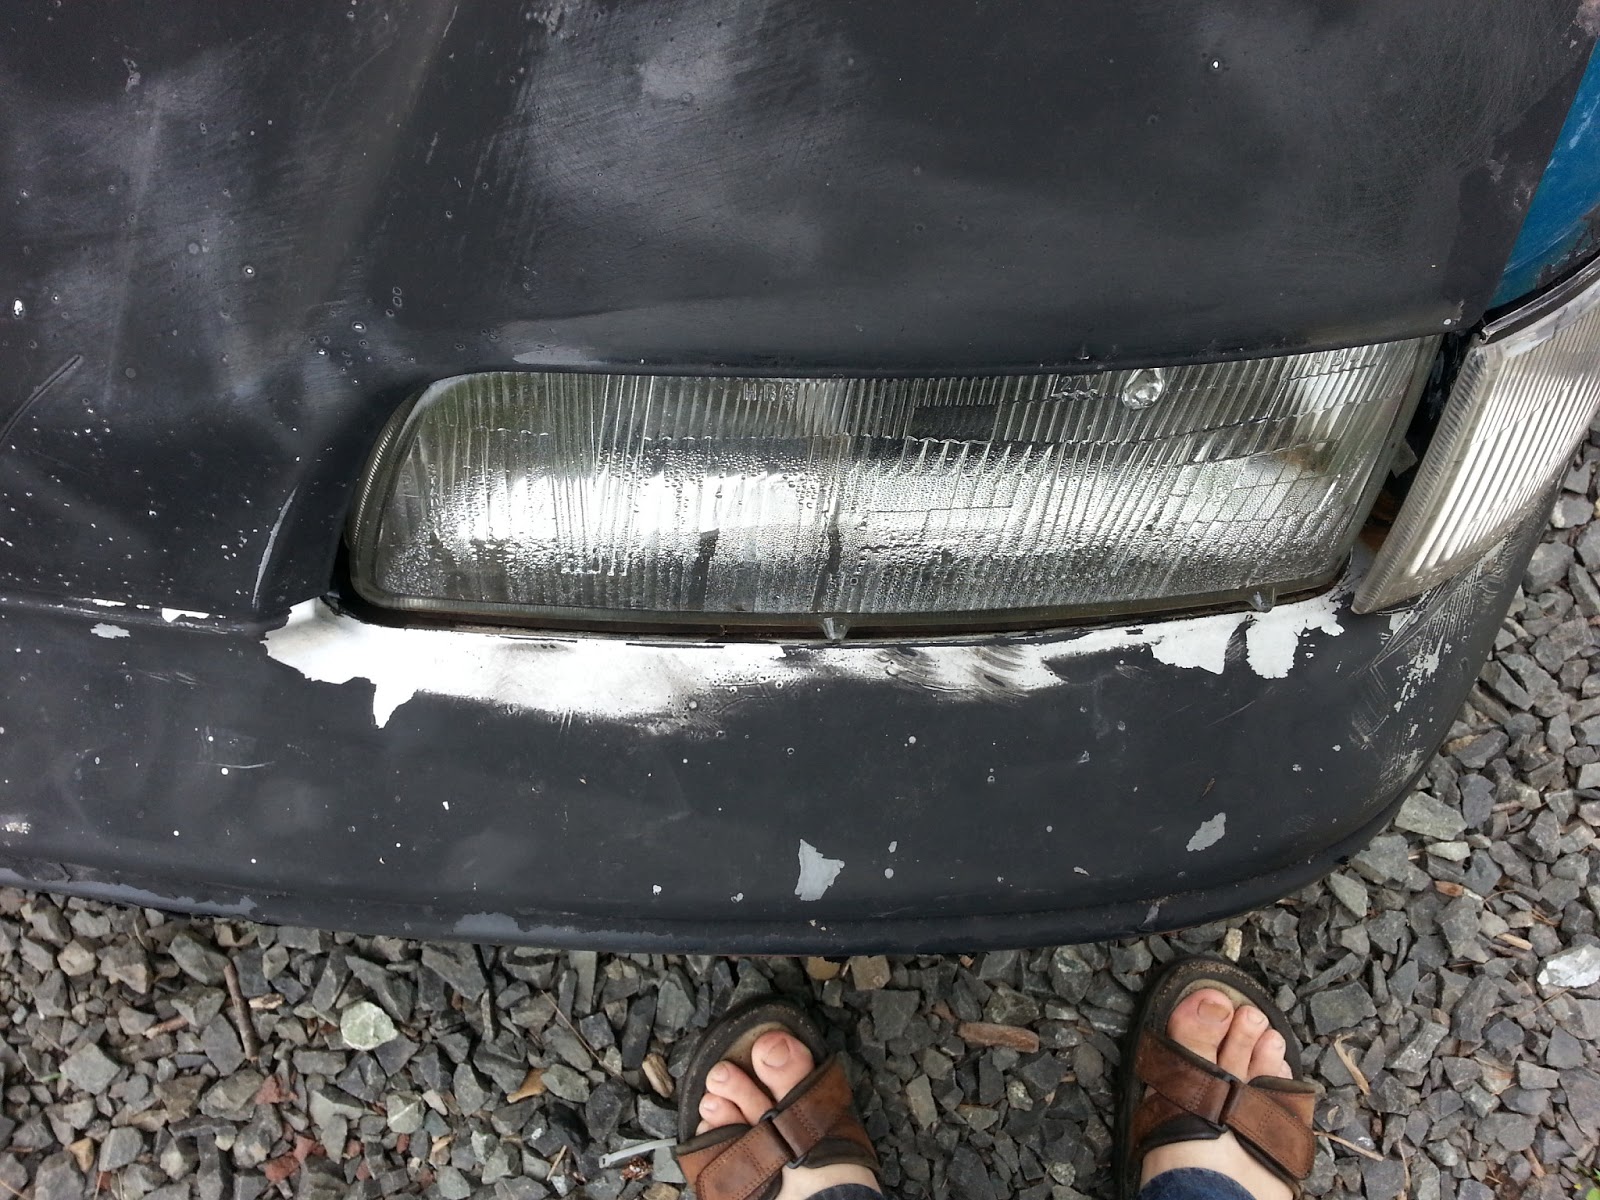
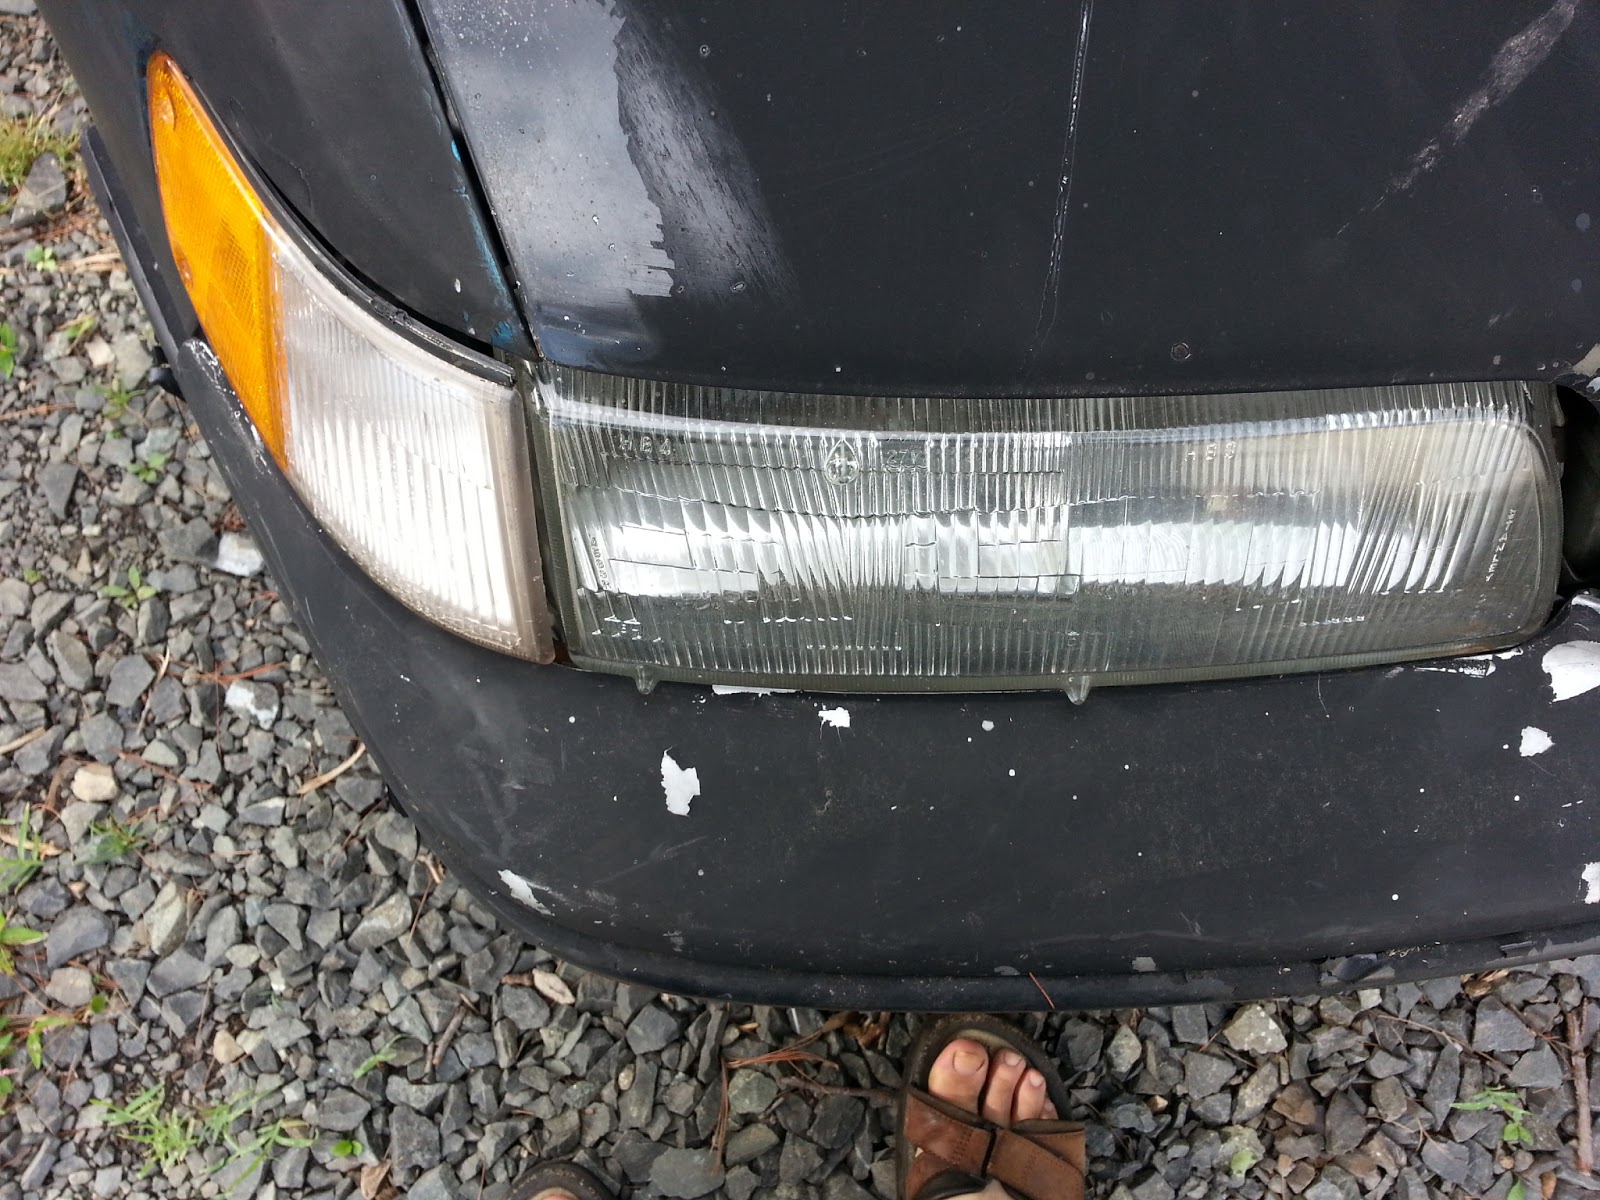
Bumper cover on for the first time in 7 years:

Lights mostly in place (I need some long screws to keep them attached correctly:

Outside together for the first time in way, way too long:

The right side had an incident years ago, so it has never lined up well after that:

I also happen to suck at aligning body panels, so . . . yeah.
The passenger side is nicer, though not great:
Shazam!


No comments:
Post a Comment