Promised filler!
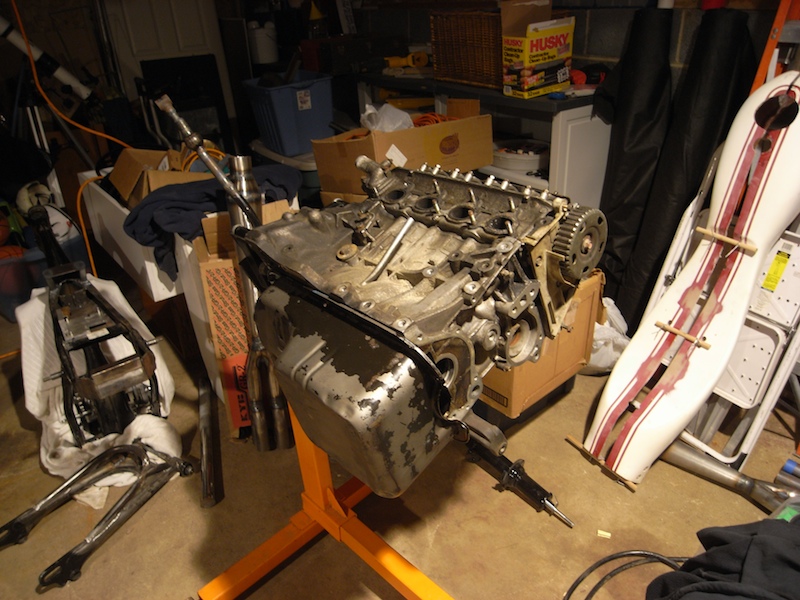
Here is my A6 block, head and pan on a stand, which is used for mock up!
End view of the Bisimoto header, with the collector trimmed to near final dimensions:

I finally got a good shot of the dang goilette, however that is spelled! I really, really dislike the poor craftsmanship exhibited. Blech:

I am SURE this is like this or worse in most of the headers that have been sold. Look what less than 10 minutes with a small grinding stone did:

From another angle:

As you can see, it is much, much cleaner now. I didn't bother to take pics after I flap-wheeled everything inside and around the edges to clean up the burrs and smooth things out and clean everything up for welding on the new downpipe.
Checking fitment:

Nice and straight!

Compared to my "big" collector:

I had to come up with an easy way to hold things in place to asses the level and mark of any final trimming I needed to do to get the downpipe and the collector properly fitted up. I used some nearly useless for welding .023" 309 welding wire (way too thin for anything I will ever do, as I found out) and clamped the loop in place to keep it adjustable:


It worked very well!
Here's the downpipe fitted to the collector, held on with blue tape until I could tack it more permanently:

Round to cloverleaf? Yup, but it isn't that much of a problem as you'll see soon!

Tacked solidly in place!


Ickiest gap:

Another view and the other sides:


How does one make odd shapes fit? Beat the piss out of things!


I forgot to get pics of the welds, but you'll see them in the next blog post, which will be confusing to anyone reading my blog normally, from top down. heh
Anyway, test fitting:

Very good pan to downpipe fitment, but, the angle was off:

What to do? Use Math. Yes . . . I used math. I figured out that it was about 9* off from level (basic trig) then I did some more basic trig to figure out how much I needed to slice on a diagonal to rotate and weld the cut piece on to get it back to level. I didn't get pics of the whole process since most of it involved two hands, a knee and a magical metal fairy. I did, however, manage to lay down some much improved beads!


Now it is looking like it might be just right!

Justin needs his header ASAP, so I did a quick and dirty support using the stock exhaust hanger. Simple and effective is the name of the came:


And, showing that it is now level:

Oh. Yeah. I found my good camera, finally. It was in a really stupid place, and totally my fault. At least I can take decent pics now. Enjoy.
No comments:
Post a Comment