Friday
I spent most of Friday pulling the rockers off my friend's minivan, but I did manage to get some work done on my Father's day present:
What is it? It's a charcoal chimney made from stainless steel! If you aren't familiar with charcoal chimneys, they are for starting your charcoal without lighter fluid. You crumple up newspaper loosely in the bottom and place some charcoal on top. You light the newspaper from the bottom and it gets the charcoal going without using any nasty tasting lighter fluid. It also gets the charcoal ready faster, which is a really good thing for charcoal. The above pic is as it arrived to me. It came with two halves which were bent to fit together and the handle, which is resting on top, hanging over the side.
In the following picture, I took a closeup on the protective film used on the shiny side of the stainless. Good stainless shouldn't come all scratched up, because of the film. The laser can cut right through it and it is sticky enough to stay on even when the base metal is bent. The holes are for plug welding, or if you wanted to, bolting through the side of the chimney. I will be plug welding.
I didn't rotate this next pic, oops. The details on the chimney are really well thought out an executed. The thin slot you see in the pic is cut to allow a tab in the bottom plate (yes: "Insert tab A into slot B") to facilitate welding the bottom plate in.
The sides are even made with tabs that fit together to help located the edges!
Here is a good closeup of the edge and how fine a cut you get from the laser:
The long piece you see in the pic below was formerly joining the two angled pieces:
Holding a few pounds of charcoal in a chimney that weighs another few pounds is hard when all you have is a flat handle, so I cut the flat out and will replace that with a wooden handle.
I smoothed the cut pieces with my sander:
Then clamped them together for drilling:
Matching holes is important for things to look straight:
In testing my "router speed controller:"
I've found that it works to a degree. It is useful for normal twist drill bits, but have found that it does not actually allow "full torque at all RPMs" as advertised. For the money I paid, it is worth it. I used it to drill holes well enough in the stainless of the handle, and that one thing paid for itself. I don't have cheap drill bits. Keeping them sharp is worth spending a little extra time and money making sure they stay sharp and useful.
I also picked up some cheap sheet pliers from Harbor Freight:
The fit and finish on the smaller pliers was abysmal. I had to file some of the nastiest edges I've seen on a tool:
If I hadn't done that, the edges would rip any metal to pieces when bending! The larger one is actually decent enough, though, and didn't require any work.
I did some quick layout work, as well:
Then I marked some quick lines to make the piece more manageable:
The thick angle was used to clamp the sheet instead of clamping directly onto the sheet, since that style clamp would bend and warp the sheet if used directly on the sheet:
That wrapped up the day on Friday.
Saturday
I spent a bunch of time in the morning cleaning. I hadn't done that for over a week, and things were jsut too cluttered. I broke down cardboard boxes, organized errant tools, cleaned off my workbenches and swept. I changed the gas line to my TIG welder to a longer one so I could move it about better. I changed a burned out bulb on the halogen shop light that I use for additional lighting. It was a really productive morning and early afternoon.
I was anticipating Dave's arrive in the morning, but he was delayed by a stubborn woman. Then he hit traffic. Then the Ferd Exploder he was driving started to overheat. Badly. He called me after he had pulled over into a parking lot where just after he had pulled in, the entire front of the car poofed into a coolant mushroom cloud of doom. I ran over as soon as I could with what coolant I had. We both figured it had just gotten low due to the fact that his dad thought that the coolant level was the stain in the overflow, not the actual coolant level! ARG! After pouring in the about half a gallon of coolant mix I had, I drove him to a gas station where we got another gallon that the engine just swallowed without showing up in the overflow. (The overflow is also the fill point on that and many more modern vehicles, which is really annoying as I think that makes bleeding the cooling system much harder than it should be.) Once we dumped that gallon in, we saw we needed more coolant! How low was this thing? We drove it to the nearest gas station and started poking around and found this:

That, dear readers, is a PLASTIC thermostat housing that is glued together. And split at the seams. Seams meant to stay together so coolant doesn't puke out of the engine. Ugh . . .
By this time, it was getting on towards parts store closing times, so we hoped on the phones and started calling around. Not even the dang Ferd stealership had the part in stock. We had to get it towed as the gas station attendants (this is New Jersey were you are not lawfully allowed to pump your own gas, for fear you might blow up the gas station . . . but I can't complain too much since the gas is waaay cheaper than in NY) were getting anxious with us in the lot pulling parts off a car that really wasn't going anywhere. We got it towed back to my "shop" by some really great guys who were actually some of the best tow truck operators I've seen in the civilian world. Dave's dad got a hold of the part, but that left Dave mostly stranded in New Jersey without a ride home. So I drove him home, but not until after I welded the box of the charcoal chimney together so I could at the very least show it to my dad the next day! I wasn't going to miss Father's Day for anything short of death or dismemberment.
I drove Dave back home and was greeted by his appreciative parents with a steak, fresh corn on the cob, mashed taters and apple pie a la mode ice cream, and a bottle of 12 year old rum (which I will open on my birthday)! Talk about pretty darn cool. It made the drive to Brooklyn totally worth it.
Sunday
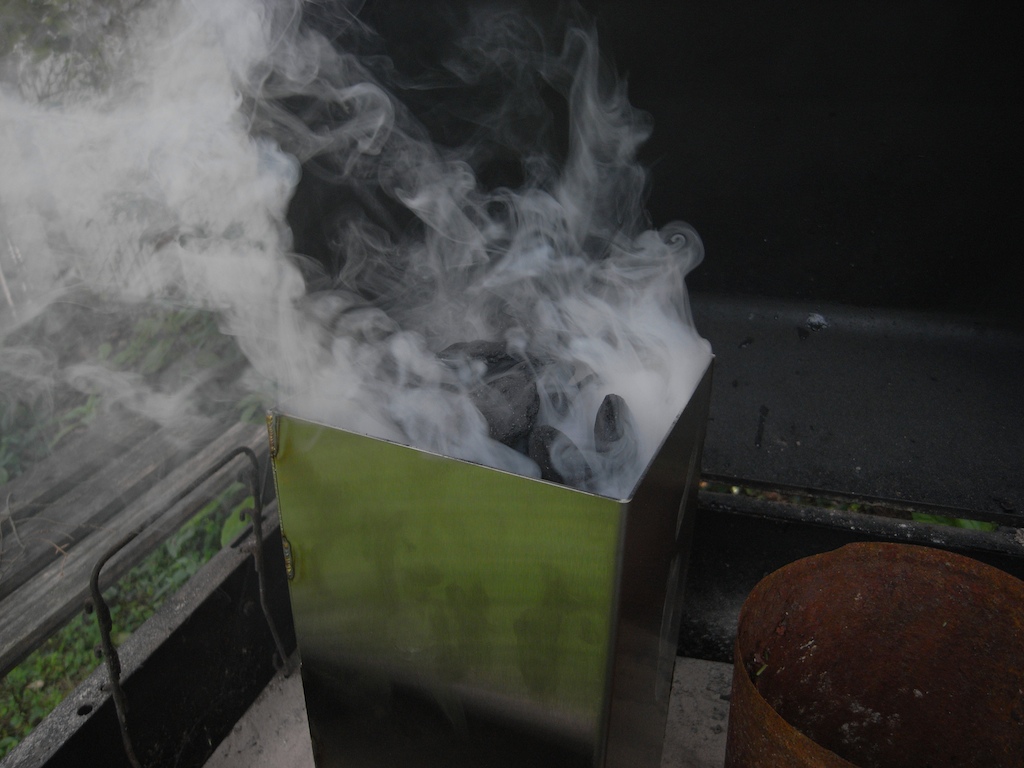
Starting charcoal with a chimney is pretty easy, as long as you aren't a goober who packs the newspaper so tight it chokes off airflow to the charcoal and you get a smokey mess . . . I wonder who did that?
Here is the new chimney next to the old one that was only a couple of years old:
I do happen to like the heat shield on the old one, but, as you can see, that thing is nearly rusted out and on its very last legs. This new one should last several lifetimes!
Here is one of the better welds:
Some of the welds weren't as pretty as I would have liked, but, at least they are solid and I didn't smoke the stainless out of the metal. heh
Here is a closeup of the handle/heat shield of the old chimney:
The handle I am going to install on the new one has much shorter legs (which is better for supporting the massive amount of charcoal this thing can prepare), which is really going to need a heat shield of some sort so fingers don't get cooked when moving the chimney around, or even dumping the coals out.
Action shot:
This is what I was cooking:
Everyone loved them! I just did a simple marinade of olive oil, balsamic vinegar, sea salt and granulated garlic. I mixed it up and brushed it on, letting everything sit while I got the charcoal going.
I am a firm believer in not messing with the meat. The more you poke at it, the tougher it gets. Leave it the heck alone! If you don't have a meat thermometer, get used to the texture of the meat as it hits different doneness points. The last thing you should do is cut the meat to check doneness, but as a last resort, make as small a cut in the thickest region of the meat and if you see that the thickest part is not quite to the degree you like, pull the darn meat then! The easiest way to overcook is to forget that what you pull off your heat will still have enough heat to keep cooking itself for minutes after you pull it off the direct heating source.
Also, LET YOUR MEAT REST! Never carve meat straight off the heat. The juices will pour out and you will be left with dry, tough meat. Wait at least 5 minutes before carving. It will still be plenty warm.
This has been your BBQ PSA for the day! LOL!
Monday
Today is not technically part of the weekend, but since we worked on stuff that was supposed to get worked on this weekend, I might as well include it in this update.
Dave had his calculus class in the morning, which meant I could sleep in a bit and also mow the lawn at my grandmother's place that is generally what is considered "home." I got all that done, showered and headed out to meet Dave at his girl's parents' place since he dropped off a motorcycle that he had recently finish doing some work on.
Aside from Google Maps on my phone being abso-tarded-ly stupid, everything went fairly smoothly with the trip out to the "shop" until . . . we roll into the driveway and as soon as Dave sees the Exploder he says "I forgot the keys . . . " DOH!
We didn't waste the time, though. He called his dad, who agreed to ride out and bring the keys and we got busy replacing the thermostat housing with the new one, which was not forgotten. That actually didn't take too long so we moved on to much more fun stuff!
Let the motorcycle work commence!
Here is a lovely picture of Dave's work increasing the ID of a SS fender washer with an 1/8" carbide bit:
After a good while, he ended up with this fit:
Excellent work!
The OD needed to be taken down to match the exhaust port dimensions. Dave trimmed down the OD in the bandsaw and then came up with a GREAT idea on how to speed up AND increase safety when cleaning up the OD of he washer to the correct size:
After a long while at the sander, he got this:
I'm definitely impressed with his work. It is accurate and the fitment is very good, which, with stainless welding, is absolutely critical for solid welds that are also aesthetically pleasing, not that anyone will see the welds on these bits. heh
I wasn't being a slacker, either! I laid out the final piece of the seat pan, which took a while, especially since I had to make a radius tool:
That worked fantastically well! I need to spend a some time on the sander to clean up the radius, but, the piece, as it currently sits is really good:
I used the same trick for the radius on the seat pan top to mark out the "hoop" that will get welded to the radius to finish the seat pan off:
Here are the two pieces superimposed on each other to check if they are within tolerance:
They are!
They are! Some more sanding and filing of the main piece and everything should be good to go!
Tomorrow I am going to do some work on Terry's new truck so it can pass inspection, and then I am going to concentrate on finishing the seat pan for Mike. I have some additional bracketry to finish, so that the seat and battery tray can be secured safely yet easily removed for sercice.
Geez, that was a long update. I hope you enjoy!