Tag Line

"Built Dam Strong!"
Showing posts with label frame. Show all posts

19 May 2012

Due to my injury yesterday, I slept in and had a lazy beginning to my day in my apartment. During the night my cut knit together well. I think the scaring, if any, will be minimal Yay!

I finally got up and out in the afternoon and proceeded to get busy!

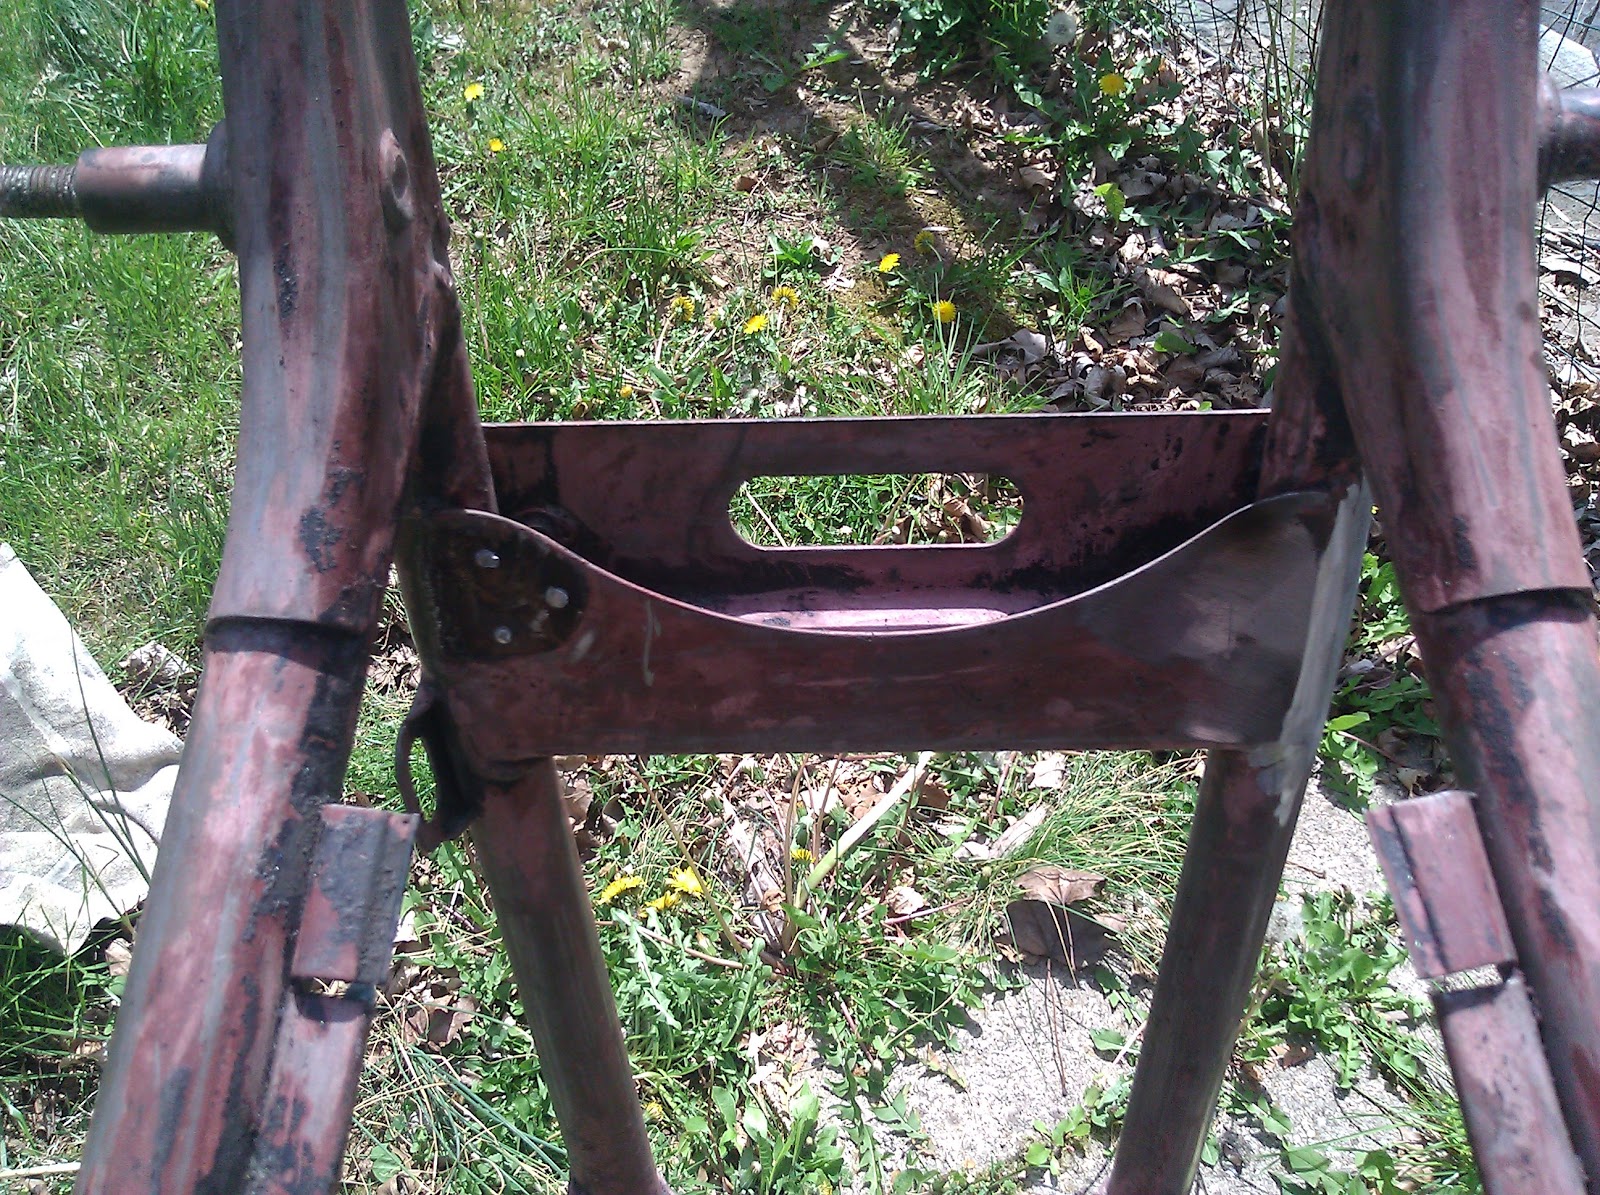
Here is a look at the right side of the tail of the frame and the hoop I was working on yesterday:


I shortened up the extra length until the frame rails matched up as closely as I could make them without having something along the lines of a ring roller to correct the radius. What's a fellow to do? Well, with a bandsaw, extra material from the legs I cut down and a welder, there isn't much I can't do!

I sliced a short section of the tube in half and then formed it around the tubing using my handy vise and hammer:


Here is what I ended up with:


The other half I actually squished down until it fit on the inside of the fram rail, then tapped it into place thusly:


Since I had a severe lack of assistants floating around (because I am knee deep in assistants usually. HAH!), I had to use what is left of my brain to hold the hoop in place. When that was shown to be futile due to the fact that brains are squishy and not very good at adhering metal together against the forces of gravity, I found a ratchet strap and used it to lock the hoop into place:


The zip ties are there to keep the strap from slipping off the sides and dropping the hoop as I tapped it into place with the hammer for the next phase of global domi . . . working on Mike's frame. 

The next picture is a bit blurry, but you can clearly see the frame is not exactly round and not lined up as well as I would like:

Here is what I use the other half of the tube I cut up for:


That should fill the gap nicely! I trimmed pieces down and fit them up better, tacked everything into place and then started a lot of welding:


As you can see, I basically covered everything in weld building everything up as smoothly as possible:


It took a while to weld all that in, but I think I did a really decent job! It took about 5 whole minutes with a flap disc to clean it up and get it to look like this:


Not too shabby at all!

I even managed to keep the hoop pretty dead flat with the rest of the frame! 


That is going to make finishing the measurements and eventually the fitup for the seat pan very easy. I like easy, at least when it works. LOL!

Oh! And one last thing:


What hole? Doesn't look like there was every a hole there. =) 

01 May 2012

Mike's frame

I actually got this work done . . . dang, a couple of weekends ago. I mostly detabbed some of the extra bits that Mike no longer needs, cleaned up some of the stock welds and welded the front forks around where they joined as I think that looks a whole lot better and should help strengthen and stiff the front up a bit over the factory plug welds.


The previous owner left this nice surprise:


That hole was actually filled with body filler and it looked pretty darn convincing from the outside. I am going to back the hole with some tubing that will slip fit inside then weld it closed and smooth it out. You won't ever be able to tell there was a hole there. 

Tricky bits to get to with a grinder, but I did it:


Right side completely smooth and left side ready for some flap disc lovin!


I also came up with the plan for the seat pan. I am actually going to be doing it in two parts, in order to provide for stiffness and flexibility since I will have to modify the design for the rear as Mike just got me the rear hoop and I will weld that in place before making any final calls on how the rear of the seat is going to look.


Battery tray plans:


Surgery!


26 March 2012

From something old and unfinished, to looking ahead at promising things to come.

Two weekends ago I had the pleasure of meeting Mike, known as MB on Do The Ton. He's got an older motorcycle frame that he needs some work done, and I picked it up and brought it to my "shop."

As you can see in the photo below, all my stuff is currently crammed in a corner of a two-bay attached garage. Some people might not think much of it, but this . . . this is heaven. =) 


My stuff is crammed in a corner because space is being made for me to occupy the large space by the doors to the garage. I don't even have to do any heavy lifting of other people's stuff! Isn't that lovely? I think so. I really do. =) 

This is Mike's frame. A lovely frame, as far as I can tell, covered in some leftover paint and Aircraft Remover. 


This is Mike's tank. A lovely tank . . . Ok, I'm not going to be intentionally redundant (much). 


I love CAD. Who doesn't? Most people don't think they can afford, it, but, with the miracles of modern science, now you, too, can afford to use CAD to mock up your parts! Take a look at the fine model that Mike and I used to get a good idea of what he wants and needs for a seat pan!


You may be thinking to yourself: "WTF is he on about? CAD? That's just a cardboard template." And if you think that, you would be correct! Cardboard Aided Design is the latest thing in fashioning all sorts of components from scratch! low cost an fast modeling times that assure a near perfect fit are the wave of the future! 


I'll be tweaking the original CAD mockup for precision based on the discussed dimensions for the components that need to fit between the battery box and the seat pan, and working out some other details to make sure that everything fits and looks just as Mike has in mind!

Soon to be added to the space are a worktable and a bead roller. I'll use the work table to mount my spare vise (a heavy sucker that will hurt immensely if it drops upon your toes), which will hold a bead roller, which will be of great use in stiffening the seat and battery pans! I'll also be trimming some tabs, welding a few spots and welding on a loop on the back of the seat. I am looking forward to getting this project rolling soon.