There were several packages waiting for me at my "shop." I love opening packages, especially when they contain really awesome things!
First up: 1/2" laser cut mild steel exhaust manifold flanges!


These things are AWESOME! The fit is very excellent. The ports match up nearly perfectly, better than other flanges I have used before. I am always amazed at how technology progresses. I highly recommend the dude I dealt with. If you want his contact info, please leave a comment or email me.
I was accused of going overkill in specifying 1/2" thick flanges, BUT . . . I have seen 3/8" flanges warp while everything was being welded (even though I am going to take steps to prevent that) together and also, I prefer that the flange be as dimensionally as stable as possible to prevent shift or adding further stress to the rest of the manifold. Since these flanges are heavier than necessary, they will be perfect for either NA or turbo applications, and the flanges are going to see use for both of those differing purposes very shortly!
Ugh . . . Chaos.


This is not how I prefer to operate, but sometimes a bit of craziness is necessary in order to get things done. I need to start getting the other half of the Garage organized so we (the owner and myself) can get everything situated so I can leave my stuff in place and actually get settled in, which really helps get the ball rolling on projects.
Some other quick things:

I now have a ground cable that isn't shorter than I am tall. That was a serious pain when working on that hopper a few weeks ago! LOL! That is a 25' line now. I also took the liberty of crimping it correctly this time. heh
Below is my next addition to my tool collection:
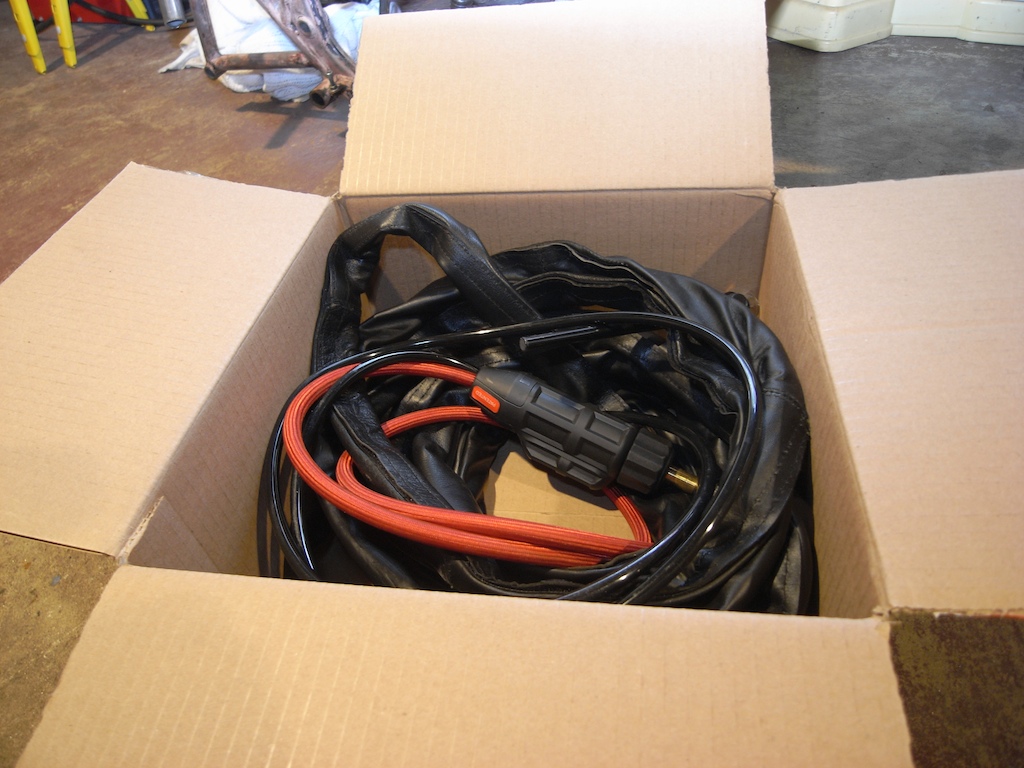
Not the torch, it is the same CK setup as before, but I now have leather line protector installed! This will help keep everything lasting longer, though it is much less compact now. There are always tradeoffs for these kinds of things, but for me, protecting a not cheap line is much more important than being able to roll it up into a smaller box at the end of the day.
I happen to like this next picture as I think the light was captured really well. (I've been playing with bounce flash a bit.)

I got a bottle T so I can use two regulators. I as simply using the valved Y you see on the left, and it worked very well, indeed, however . . . using two regulators is going to allow me better control and reduce my gas usage and therefor costs. I won't be doing much back-purging on the rest of this bottle, but I can get heaps of stuff welded up before the bottle runs out. I am seeing if I can exchange the bottle at a more local LWS (Local Welding Supply) that is owned by the same parent company, that way exchanging the bottle won't be a half a day affair. I WILL say that getting the 330CFH bottle was the best thing I've done. I've done nearly all my welding you see here and a bunch more on just two fills. That is phenomenal!
Other things I did:
-Tested a cheap footswitch from HF. It works great for the bandsaw when it is in the stand, and will be useful when I get a new motor for my (cheesy cheap) drill press soon. Two hands on your work is important to staying safe.
-Cut up some 1.5" diameter stainless rod that is going to be sent to a friend of mine who has a lathe . . . muahahahhahah
-Installed a new collet body and gas lens screen on my torch.
-Organized various nuts and bolts into a divided compartment plastic container
-Broke down a bunch of unneeded boxes for the recycle pile.
-Tapped the two un-tapped holes on my HF workbench (the one that the bandsaw stand is clamped too above) and finished putting it together. I am surprised, but it is really sturdy, definitely worth the $27 or so! The top is going to have to get replaced and the really crap fiberboard shelves are not even worth installing, but the frame is really not bad at all, surprisingly!
-Unpacked a set of mandrel bent tubes, cones and other oddities . . . *winks*
-Planned out my day for tomorrow.
And there we go! A fairly productive few hours. Tomorrow is going to be focused on cleaning up a bit, setting up an uncluttered work space, and then knocking things off the list. By taking the time I did today, I will ensure that other things tomorrow and in the near future will go more smoothly or at least with less incidence than would otherwise happen. Tomorrow will involve a lot of prep work and some templating, but you'll see that as it gets done. =)


