I completed nearly everything! I have to make one last trip to Home Depot to pick up one more hex head bolt in 6mmx1.00 thread, since I over estimated the length of one of the needed bolts and need to straighten that out. After that, the only thing left is to source to stainless locking nuts, the kind without the plastic locking insert, since I don't want any heat melting the inserts and allowing the battery tray to drop . . . That would be a bad thing. For sure. Let me show you what I am talking about!
Mockup . . . one of my favorite things. Measuring 2xelventy trillion times, cutting/welding/drilling once. It saves time in the long run!
Here's the battery tray (again):

Here is one of the flanges Dave helped make while I was working on something else:

I had to figure out a way to make those flanges stay on and support the battery tray in a secure manner. Normally, I would try to figure out a way to do so horizontally, but given the low profile and also the requirement to make things easily accessible, I chose to use existing threaded inserts in a clever way.
This is the existing threaded insert:

I simply drilled through the hole with a smaller bit (after centerpunching it to prevent the bit from wandering too much) and ran a tap through the hole and test it with a piece of threaded rod I had:
 Poifect! Nyuk, nyuk, nyuk!
Here is the basic idea:

With that settled, I had to move on to figuring out how to secure the seat pan. Due to my design of the seat pan, I really only needed to ensure that the seat pan would not pop off the frame rails. The locator pieces lock the seat pan longitudinally, so I just had to make it so that the seat could come off fairly easily but not be accidently popped off.
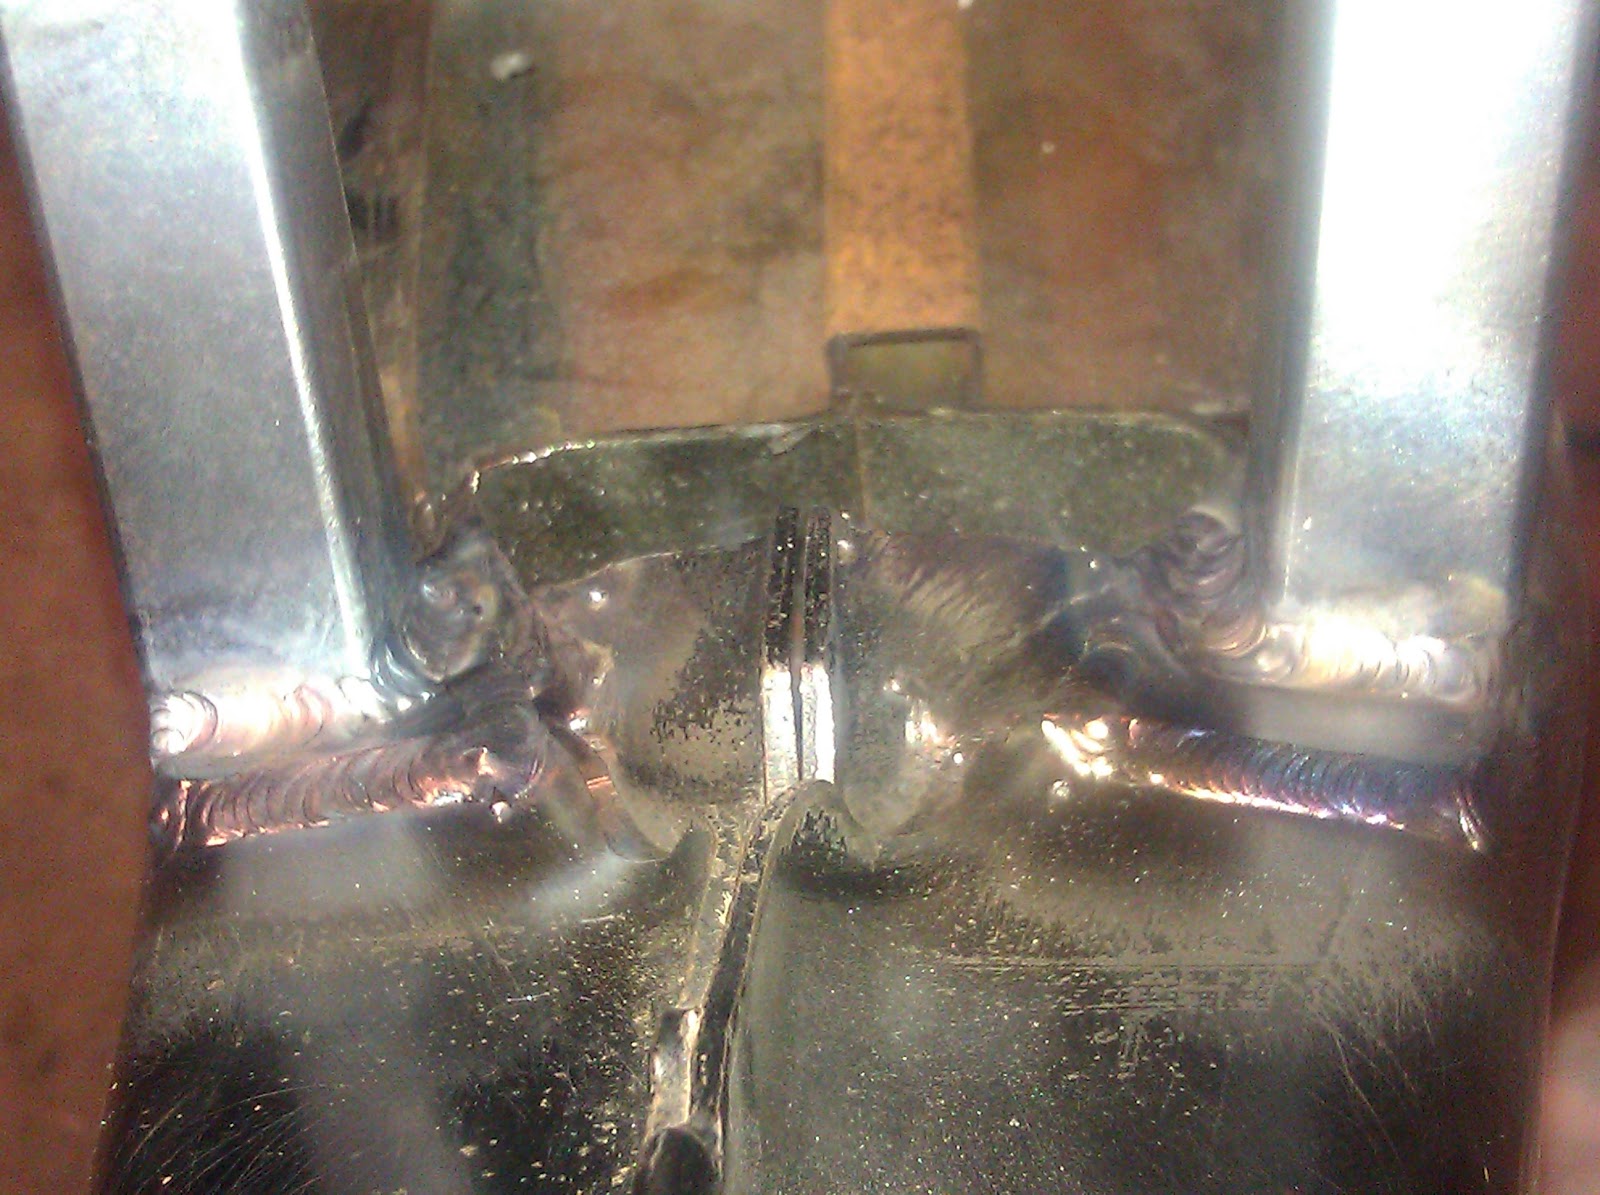
Here is a view from the underside to refresh our memories of what everything looked like.

Hmmmm . . . That elliptical hole of the frame bracing looks pretty suspiciously well placed . . .
What if I made a plate to cover that, with a hole in the center that would be large enough to fit a stud through it, which would be welded on to the seat pan and then secured with a wing nut? Oh look! A suspiciously perfect stud ready to get welded to the seat pan!

I also took the liberty of cleaning up the edges of the curved section of the seat pan so that it was even all the way around.

Shazam! I distracted you long enough to have made a nice looking place from some stainless I had leftover from the handle of the charcoal started I had assembled for my father for Father's Day:

Now doesn't that look swanky?

Closeups are always good:

Back to the battery tray . . .
Here is one of the hex headed bolts.

Why did I bother with bolts? Well . . . I wanted somethign replaceable. I have seen way too many bolts get stripped out and if I welded something in place, it would make things a lot harder to replace in the future. With a bolt, you can simply unscrew it and replace it with another one. I couldn't find stainless bolts in the right size at Home Despot, so this will certainly do for now.
Here is a shot of how the bolt goes through the threaded insert and the hole that I drilled and tapped for the bolt:

I marked and drilled (intentionally) oversized holes (to allow for ease of installation):

Then noted that the "legs" of the brackets stuck up much too far:
 I used a chisel point King Size Sharpie (thought I'd be done mentioning them, didn't you? HAH!) to get an approximation of how much I had to trim off. I fired up the band saw and got to sawing the excess off, cleaning them up on the belt/disc sander and ended up with this:

And then welded them on to the tray:

Not too shabby looking. Not perfect, but pretty decent. A locking nut will complete the kit when I can find some of those things, or Mike can find them, too. I'm not picky. heh
Magic tip time! I wanted to try something with making a spacer to prevent the seat pan from getting pulled too far down with the wing nut. I cut a small piece of 1/2" aluminum rod and evened up the ends. I wanted to drill a hole down the middle of the short section, but attempting to hold that in my fingers would be finger-a-cide, so I came up with a simple but highly effective clamp that gave me enough leverage to prevent the rod section from spinning.

It took a long time to tap this darn thing. I had forgotten my number drill set (you likely have no idea what I am talking about . . . unless you are a machinist or very familiar with drilling and tapping holes), so I didn't have exactly the right twist drill (commonly known as a drill bit, which isn't exactly correct) size on hand to make tapping through that section easy. But I managed. I so wanted a lathe. I would have been done in less than 5 minutes, including all the tool changes. LOL! Oh well . . .
This is what it ended up looking like:

But my measuring was off:

Remember that whole measure a lot of times and cut/drill/weld once thing? Yeah . . . But, after testing things out, I determined that it wasn't necessary to have the spacer there at all, since the pan is 18g steel, it barely flexes when you crank on the wing nut . . . Next time, I think 20g will be easier and faster to work with. LOL!
Nearly final battery tray installed:

And the final profile view of the seat pan and battery tray on the frame:
 It looks really sleek! I can't wait to see how the rest of the bike comes together! Mike's got some good plans. =)
Mockup . . . one of my favorite things. Measuring 2xelventy trillion times, cutting/welding/drilling once. It saves time in the long run!
Here's the battery tray (again):
Here is one of the flanges Dave helped make while I was working on something else:
I had to figure out a way to make those flanges stay on and support the battery tray in a secure manner. Normally, I would try to figure out a way to do so horizontally, but given the low profile and also the requirement to make things easily accessible, I chose to use existing threaded inserts in a clever way.
This is the existing threaded insert:
I simply drilled through the hole with a smaller bit (after centerpunching it to prevent the bit from wandering too much) and ran a tap through the hole and test it with a piece of threaded rod I had:
Here is the basic idea:
With that settled, I had to move on to figuring out how to secure the seat pan. Due to my design of the seat pan, I really only needed to ensure that the seat pan would not pop off the frame rails. The locator pieces lock the seat pan longitudinally, so I just had to make it so that the seat could come off fairly easily but not be accidently popped off.
Here is a view from the underside to refresh our memories of what everything looked like.
Hmmmm . . . That elliptical hole of the frame bracing looks pretty suspiciously well placed . . .
What if I made a plate to cover that, with a hole in the center that would be large enough to fit a stud through it, which would be welded on to the seat pan and then secured with a wing nut? Oh look! A suspiciously perfect stud ready to get welded to the seat pan!
I also took the liberty of cleaning up the edges of the curved section of the seat pan so that it was even all the way around.
Shazam! I distracted you long enough to have made a nice looking place from some stainless I had leftover from the handle of the charcoal started I had assembled for my father for Father's Day:
Now doesn't that look swanky?
Closeups are always good:
Back to the battery tray . . .
Here is one of the hex headed bolts.
Why did I bother with bolts? Well . . . I wanted somethign replaceable. I have seen way too many bolts get stripped out and if I welded something in place, it would make things a lot harder to replace in the future. With a bolt, you can simply unscrew it and replace it with another one. I couldn't find stainless bolts in the right size at Home Despot, so this will certainly do for now.
Here is a shot of how the bolt goes through the threaded insert and the hole that I drilled and tapped for the bolt:
I marked and drilled (intentionally) oversized holes (to allow for ease of installation):
Then noted that the "legs" of the brackets stuck up much too far:
And then welded them on to the tray:
Not too shabby looking. Not perfect, but pretty decent. A locking nut will complete the kit when I can find some of those things, or Mike can find them, too. I'm not picky. heh
Magic tip time! I wanted to try something with making a spacer to prevent the seat pan from getting pulled too far down with the wing nut. I cut a small piece of 1/2" aluminum rod and evened up the ends. I wanted to drill a hole down the middle of the short section, but attempting to hold that in my fingers would be finger-a-cide, so I came up with a simple but highly effective clamp that gave me enough leverage to prevent the rod section from spinning.
It took a long time to tap this darn thing. I had forgotten my number drill set (you likely have no idea what I am talking about . . . unless you are a machinist or very familiar with drilling and tapping holes), so I didn't have exactly the right twist drill (commonly known as a drill bit, which isn't exactly correct) size on hand to make tapping through that section easy. But I managed. I so wanted a lathe. I would have been done in less than 5 minutes, including all the tool changes. LOL! Oh well . . .
This is what it ended up looking like:
But my measuring was off:
Nearly final battery tray installed:
And the final profile view of the seat pan and battery tray on the frame: