Here's an update on Justin's header:

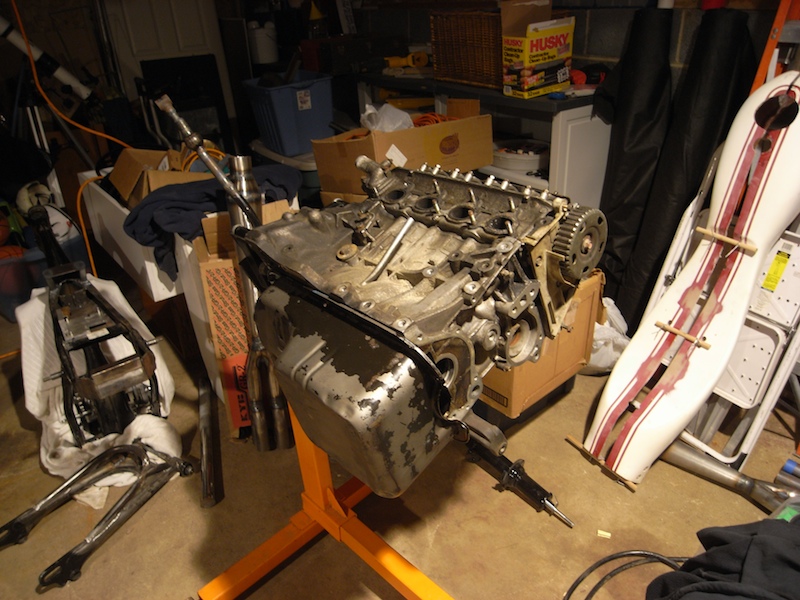
I got the megaphone tacked on today. It fits together so nicely! It's just really long! LOL! Check out the approximate fitment:
I think that I am almost ready to tack it into place on the header then check fitment. I really wish I had my spare mock-up block at the "shop," as that would make my life a whole lot simpler. I may just have to move it there soon, as I want to get Justin's header finished up so he can have it in time for his big spring debut. This thing sure is going to be a pain to ship, though. . . LOL!
While I was tacking Justin's header, I just noticed how groady the protective covers were on my welding helmet. (It's an older Miller Elite Big Window, with a push-to-turn-on setup, unlike the newer instant on helmets that are really insanely good.)
Just look what I was trying to see through:
That was the original protective cover that came with the helmet. I then realized that I had the spares that come with the dang helmet, toting them around all these years (the helmet is probably 6 years old now) so I dug them out and WOW! I could see again. LOL!
Clean and clear:
By this time I was starting to get on a roll. I tacked up the runners of my own header (well, Chris' header, but my design), and got that done except for one bend, as I forgot to mark the dang position in Sharpie. DUH! While I was doing that and getting settled in with the TIG welder, I took the opportunity to smooth out some of the previous welds around various places on Dave's bike's frame, re-welding some of them with my MIG welder until I ran out of wire (DANGIT!) then finished up with the TIG welder. dave was very impressed with how smooth and everything turned out. Just a little bit of time with a flap wheel will clean the leftovers up, and the body will be ready for whatever else Dave has for it. I didn't grab pics of everything that I filled in and touched up, but, we'll get some eventually.
I didn't get an "after" of this spot, but, I TIG'ed this over and it ended up being much, much smoother and will clean up better than ever before:
Dave spent his time prepping some pieces for his body reinforcements. I had some 3/4" square stock he wanted to use for stand offs for the bodywork, leaving room for rubber to dampen some of the vibrations of the bike. I convinced him that we should weld on baseplates between the frame and the standoffs, as that is just good practice, especially when welding anything substantial and perpendicular to thinner sheet metal, just like the plates welded in for a roll cage on a car.
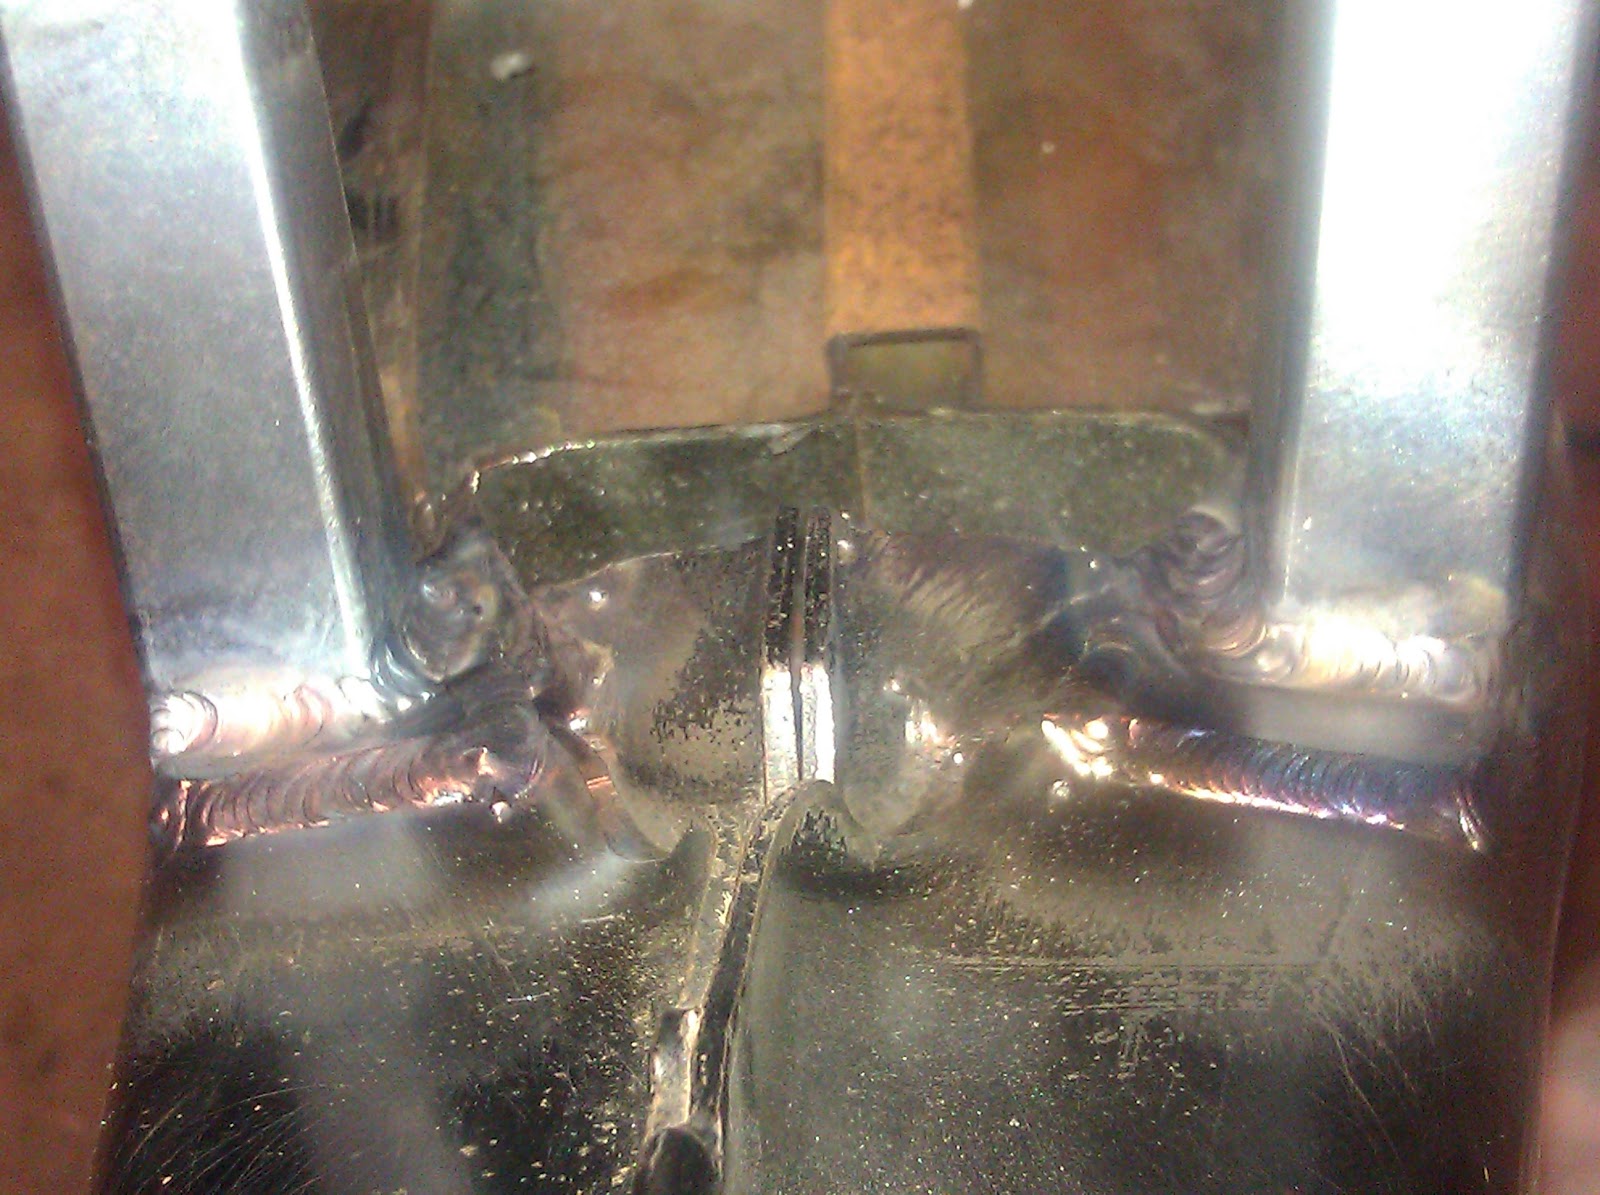
Once he finished up the plates, I tacked them in place, then laid down this beauty of a weld:
That was the most satisfying bead of the evening. It's not perfect, but given what I was welding on, I won't complain in the least!
Here are both plates welded in place:
The keen observer will note some "hot spots" (Yes, Remo, I know, I know) , especially on the left most plate, the bottom left corner, but, I had to do these welds "Army style," meaning hot as heck to burn the crap out of the area. heh
The next order of business was to make a platform off the tail for the body to sit on, raised a bit off the patform. The issue was that the angle the hoop comes of the frame. The solution was to mock up a piece of angle (that I also had laying around) at the correct angle, using different thickness welding wire (thank you, Remo!) at the edge to correct the angle of the . . . angle. LOL! We figured out what would work best, and I tacked it into place:
Then we used some 1/2" square tubing and got everything where it should be.
I made substantial tacks, then Dave and I tapped it into alignment with a big hammer:
Once the final adjustments where made, i ran beads up both sides, then added a third been in the middle to make sure the body wouldn't be going anywhere!
Testfittng after everything cooled down:
After we got the rear body mount done, we could measure how tall we needed to make the middle standoff. Dave is gonna use 3/4" thick rubber on top of all these points to keep the vibrations down a bit. We got things measured up, and Dave started cutting the 3/4" square tubing to size. He did a decent enough job. We mocked everything up again, checked fit, and took measurements for the top, connecting piece of the standoff. Once Dave finished messing with that (while I finished welding up the last primary for his header), I got the legs welded onto the top bar, and it looked something like this:
Final tweaks didn't take too long at all, so I welded the standoff to the plates I welded onto the frame:
Some of the welds were don't at fairly awkward angle, so I wasn't as steady as I would have liked to be. The footpedal that came with my welder is more fit for Herman Munster than normal sized people (even me with 13EEEE feet). It was an act of gymnastic ability to steady myself on one foot, control the arc with my other foot (I can do it almost as well with both feet, so does that make me ambipedrous?) feed the welding rod and move the torch, hunched over the frame. So, I'm OK with things not being perfect. More importantly, that standoff isn't going to move without a crapton of motivation, which would just bend the frame since we properly connected the standoff to the frame.
Here is the frame as it sits now:
Overall, it was a REALLY successful day. I had fun, Dave learned some stuff, we made a bunch of progress and I made progress on two other projects.
I've got a job interview this afternoon, too. So, I'm about to get ready for that. I want to make myself as presentable as I can, even if that is a bit of a stretch for my wardrobe at the moment. heh If I DO get this job, I'll have much more financial flexibility. The position is for an overnight emergency dispatcher for campus housing. Basically, any of the calls students or faculty make to housing/grounds/building maintenance are taken by a dispatcher, who appropriately routes the call. The expected call volume is 60-75 a week, more at the beginnings of semesters. The shift is one week a month. The "pay" is reimbursement for your housing costs. So . . . working one week a month, I would be living on campus for free. )(#(*$# yeah! I am pretty qualified for the position (Army emergency training, I worked as a service manager for a heating and air conditioning company (so I know how to deal with panicked/stupid/aggressively douchey people, excellent communication skills and phone manner), but I don't have a resume at the moment . . . and that is a long story that I am not gonna get into now. heh
TTFN. I should have more updates on Monday, as my muffler came in and Monday is looking like a good day for working outside, or as good as it will get. I have a trip coming up next weekend and I don't want to hear the )(#*(#$ drone in my car on the highway. It is sooooo annoying.