Another catch up post!
Here's the oil cooler plumbed in:

 This was pretty easy since it was pulled of a spare car and not too much needed to be done, and, thankfully, I didn't have to do any of the plumbing or much of the wiring!
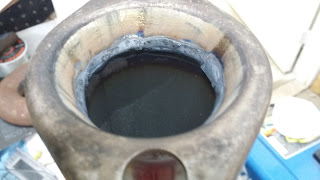
The next thing I turned my attention to is the exhaust. The coupler for the exhaust to header joint wasn't in all that great a shape. There was some substantial crap inside the original welded section, so I cleaned it up, welded a bead around the whole circumference and then ground it smooth:


The outside got a good cleaning, too:

I made sure to match everything up as well as possible:

Yes, I just MIGed the pieces together with regular steel wire:
 It's not that critical. Honestly.
Here's the interior after the welding:
Hey, would you look at that, I cleaned up the inside, too:
 Bolted everything together:

I love having a 4 post lift with the "alignment jack", as it made positioning the exhaust super easy:

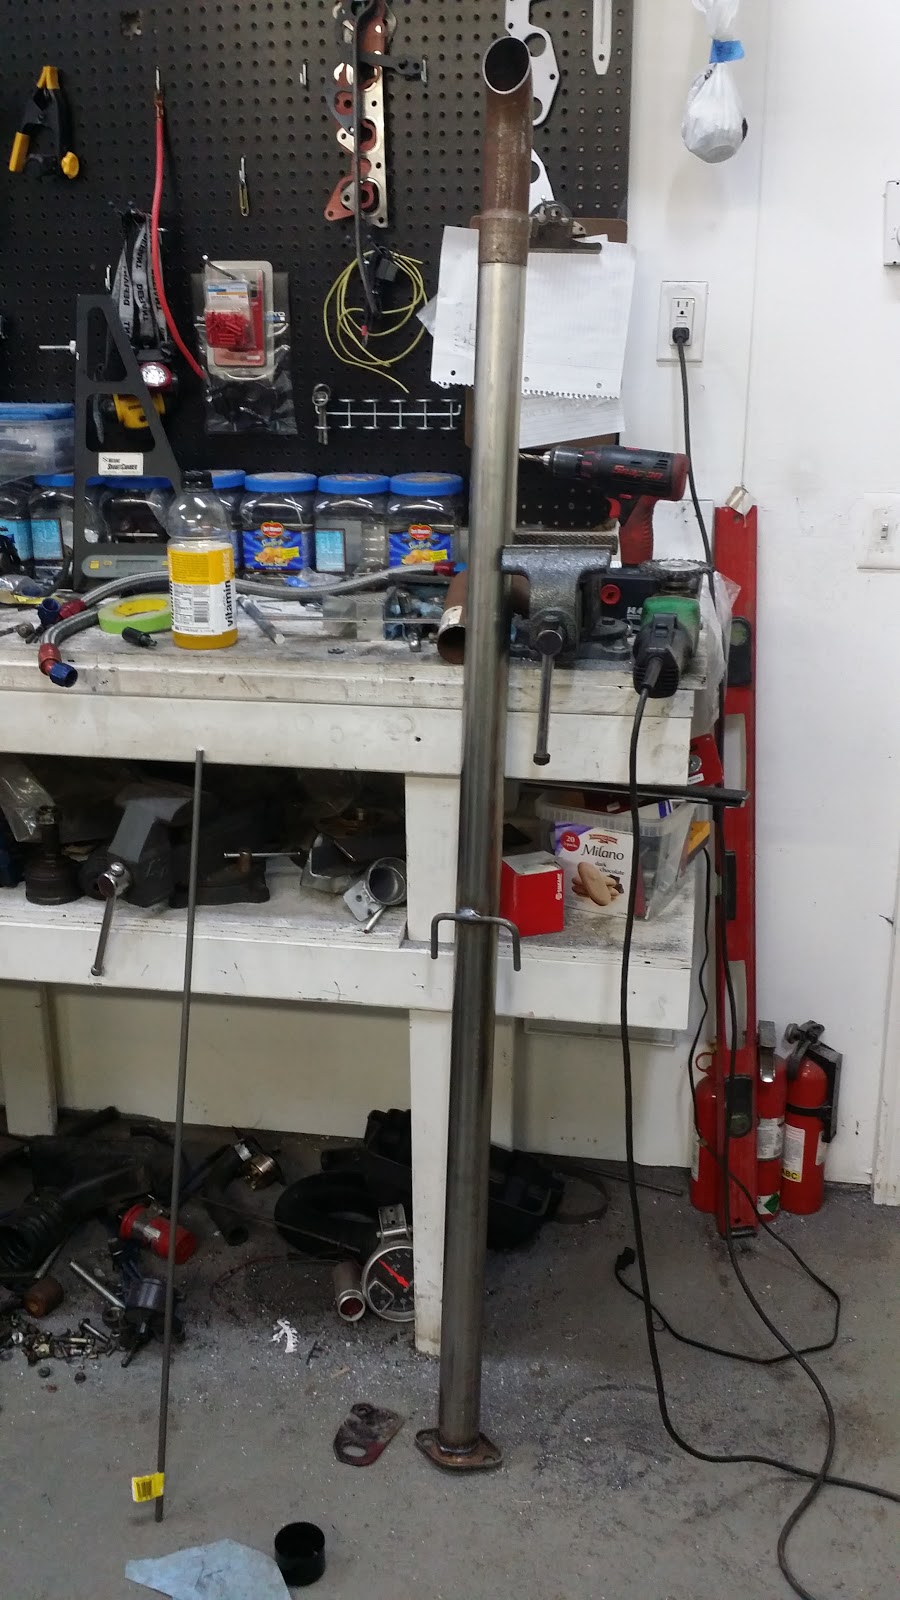
A simple bent piece of round stock becomes the center mount:

Here it is ready to be welded:

The end of the exhaust needed a turn down, but the only bend we had didn't match the exhaust, so I flared it a bit:

This is the ONLY flaring tool I will ever use:
 It is heavy duty enough to be impact rated, and is really the only way to go for any exhaust stretching needs.
To finish the turndown, I simply taped the bend to be parallel with the leg:

Then zipped it off with the bandsaw:

A few minutes later, it was welded together and the exhaust for Daytona was complete:

Almost. heh
I didn't like how close the end of the exhaust was to the brake line for the rear brakes:

But that was easily solved with some header wrap leftover from wrapping the header:
 Daytona doesn't have any sound regulations, which is unusual for most tracks. That is why there is no muffler in this system. This is in process of being corrected for this year's racing, as some of the tracks the car will be running at do have some fairly stringent sound control regulations. Not terrible, but, we definitely need a muffler or three. HAH!
The next big thing was to get the intake tube worked out!

As you can see, it isn't a terribly complicated piece:

Some decent enough welds holding it togetherL

 That is where I will leave off for today.
Here's the oil cooler plumbed in:


The next thing I turned my attention to is the exhaust. The coupler for the exhaust to header joint wasn't in all that great a shape. There was some substantial crap inside the original welded section, so I cleaned it up, welded a bead around the whole circumference and then ground it smooth:


The outside got a good cleaning, too:

I made sure to match everything up as well as possible:

Yes, I just MIGed the pieces together with regular steel wire:

Here's the interior after the welding:

Hey, would you look at that, I cleaned up the inside, too:


I love having a 4 post lift with the "alignment jack", as it made positioning the exhaust super easy:

A simple bent piece of round stock becomes the center mount:

Here it is ready to be welded:

The end of the exhaust needed a turn down, but the only bend we had didn't match the exhaust, so I flared it a bit:

This is the ONLY flaring tool I will ever use:

To finish the turndown, I simply taped the bend to be parallel with the leg:

Then zipped it off with the bandsaw:

A few minutes later, it was welded together and the exhaust for Daytona was complete:
Almost. heh
I didn't like how close the end of the exhaust was to the brake line for the rear brakes:

But that was easily solved with some header wrap leftover from wrapping the header:

The next big thing was to get the intake tube worked out!

As you can see, it isn't a terribly complicated piece:

Some decent enough welds holding it togetherL


Please leave me feedback either here or on my Facebook page, which you can find by clicking this link: Beaver Built on FaceBook
You can subscribe to receive new post notifications by entering your email in the box on the right of the article, by RSS feed or by FaceBook.
Thanks for reading and I hope you find this stuff useful or amusing or both. =)