Tag Line

"Built Dam Strong!"
Showing posts with label front wheel bearing replacement. Show all posts

04 September 2014

Fit Fit update: brakes are in. ABS warning light is on. Brilliant.

I did manage to finish up replacing the brakes and studs least week, but I haven't posted on it as I've been busy with other things. The job isn't complete, but, I'll fill you in on the details in a bit.

I'm pretty sure I know why this whole mess happened in the first place. This is a close up view of the stock rim:
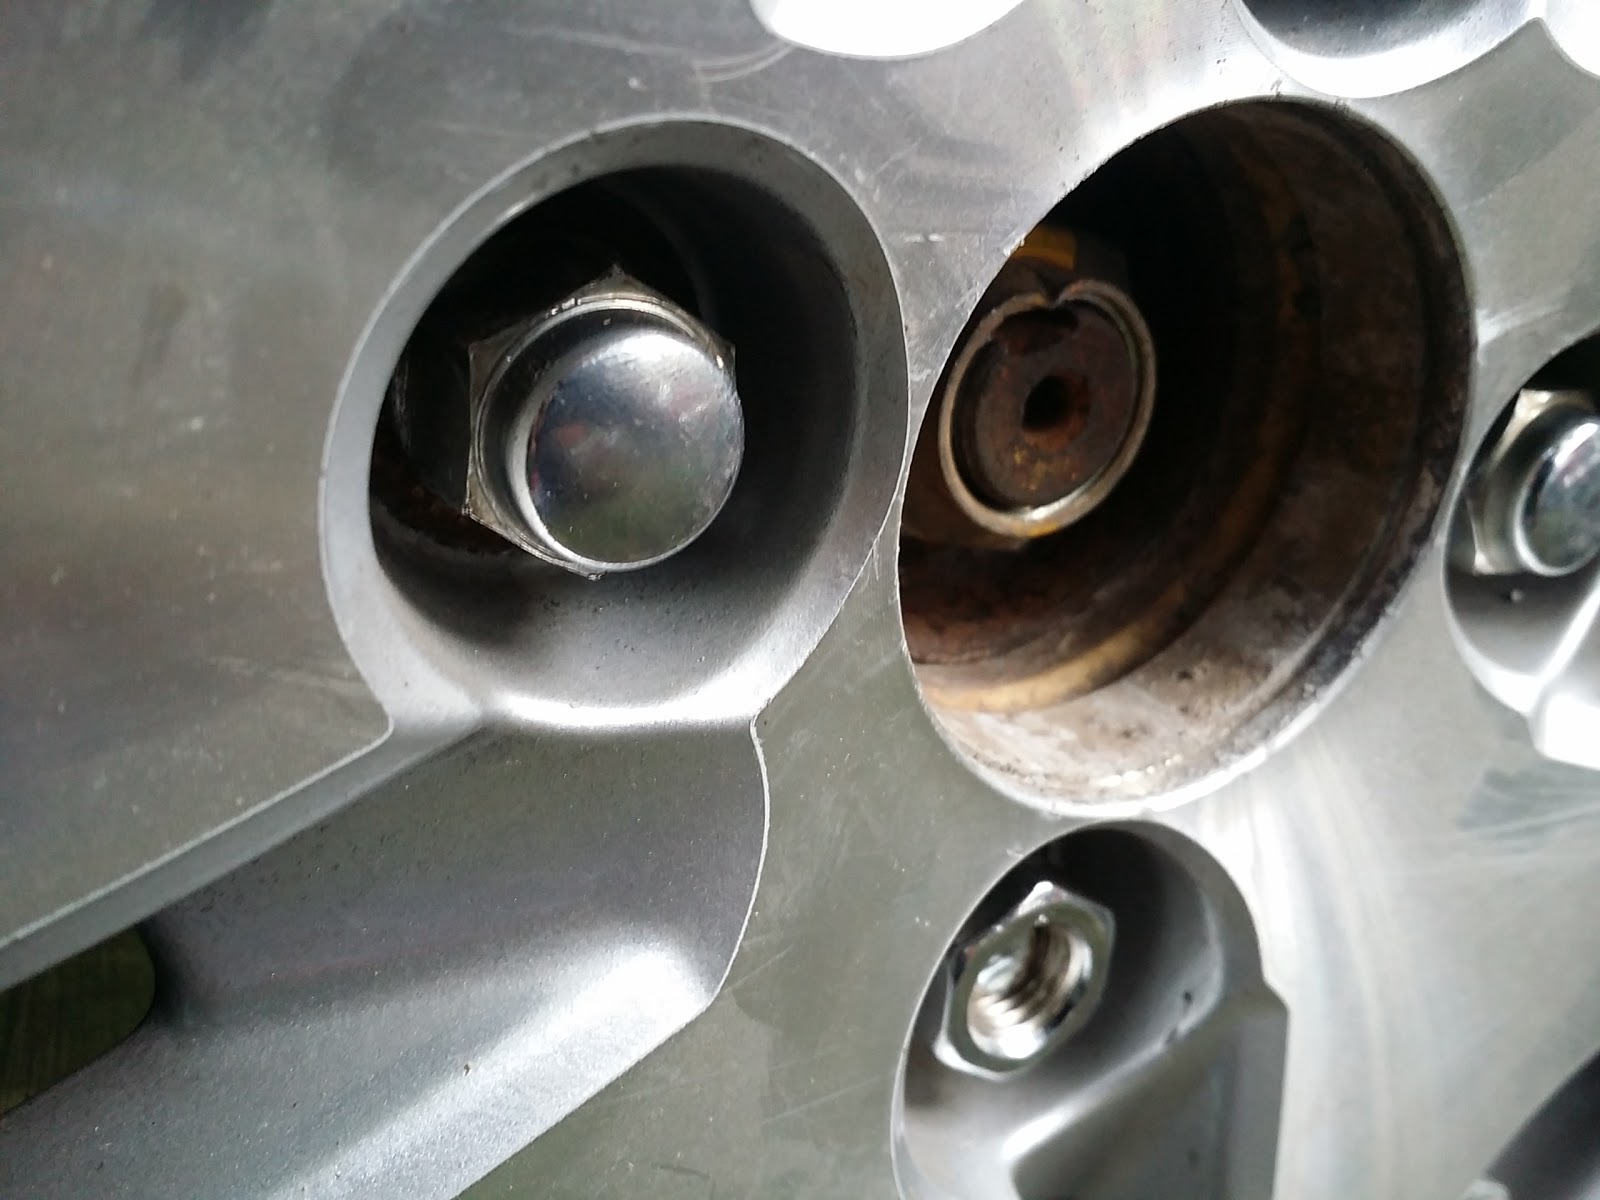

It is very difficult to get your fingers in the to start the lug nut by hand. This is very easily solved by using a deep well socket to start them by hand, then get your assistive tool on them and go to town. If you just slap the nut on the lugs and go, you will cross thread stuff. Some studs are designed to prevent this with an extended tip (like the ARP studs), but for normal studs and even the fancy ones, start the lugs by hand. Always!

To finish the job on the other side, I rented a hub puller kit. The only thing I used out of the kit is the smaller pulley adapter which didn't fit exactly correctly, but it worked well enough with my slide hammer to pull the hub out:


I got the axle out and re-bolted the spindle in place in preparation for getting the bearing out:
 Dorman part number for the studs, also good for the CRX:
 Everything was going smoothly until . . .
 Yes, I pressed the stud through the square hole of the socket. Der!

 I just used a CRX stud:
 Now THIS tool is super useful:
 Horrible Freight's wheel bearing puller. It wasn't cheap, even on sale, but it let me get the job done without pulling the spindle off the car, though it caused an unexpected problem, though that was my fault, not the kit's.

Installing the new bearing:


This part of the install went very well
The tool works as designed. The issue is that somehow the magnet in the back of the bearing got boogered up. I'm not sure how it happened. Mayhaps I should have selected a larger backing plate to draw the bearing in and it cracked the magnet? I was trying to avoid the ABS sensor as it sticks out into the space  between the bearing and the axle so I choose one that gave me room. I likely could have gone larger. Or, maybe I should have gone smaller so that I just hit the inner race of the bearing. The brake warning light and the ABS light are now permanently on, which is seriously annoying I'll be replacing the bearing and both sensors soon. At least I know how to do this and it should take much less time.

Here's the part number for the replacement lug nuts I used:


They are made very well. They are not closed like the stock ones are, but for now, they work well and were not at all expensive.

So far, the brakes feel decent and stop well. The engagement point is a bit low, but I do want to bleed the brakes and adjust the rear drums. Both should help the feel, though that says nothing about the ease of stopping. When you get serious with the brakes, they work very well and are very quiet and smooth. Hurray for good brakes! 

26 August 2014

Why, yes! I love it when people cross thread lug nuts and hammer them on with air tools!

Some of you know that I bought an '08 Fit Sport in what I'm calling ugly orange, though it isn't really too ugly or too orange. This is intended to be a simple, efficient and bearable daily driver, allowing me to have the time to fix my CRX correctly. I had it inspected on Saturday and it was given a clean bill of health with the exception of needing new front brakes, which I already knew from the pulsing pedal and overall poor condition of the rotor faces. No biggie! I ordered my favorite Centric Premium rotors and some Stoptech pads to try and set to work after work installing them.

Normally at this point in the story, everything gets really boring. A simple rotor and pad change should take less than half an hour. Queue dramatic music! But then, as you may have surmised from the title of this post, I sheered of three studs on the driver's side and one in the passenger side.


Blankity blank blank blank blankety blank blank blank. Blank. I've used all my sick/personal days this year, and now with work being slow and having a car note to pay, I really don't want to be taking time off, especially dealing with a supposedly simple daily that will receive correct but really minimal attention, just like a good toaster. So much for that idea.

I made a bunch of calls and managed to find a store with two wheel bearings in stock. My dad picked them and a bunch of studs up on his way home after work. Meanwhile, back at the farm . . .

I got to work cutting the darn rotor screws of the hub. Ugh. I really don't like those things.

A view of how things looked at that point:


By the time my dad had returned with parts,  had managed to pull the hub off with my basic slide hammer kit but couldn't get the bearing out.


I really didn't want to take the spindle off as usually the camber is set by camber bolts at the bottom the shock mount on cars with struts. Meh.

 This almost always gets stuck on the hub when pulling the hub:

 Notice the form of the hub:
 I'm guessing they ate trying to cut down the weight of the hub by doing that, but man, that looks really thin overall compared to earlier hubs. I just wonder how close is too close!

Another discovery:
 Stock CRX studs are the same as the Fit studs.

After getting to this point:
 I spent some time trying to find a wheel bearing puller kit. I wasted a lot of daylight on that mission, including making a very wasteful trip to see if someone at a parts store actually had a clue. She didn't. All they had was a hub puller kit, which I don't need with my slide hammer. Grrr . . .

While I was making calls, I took a look at the SKF wheel bearings and made a discovery:


A magnetic ring! Inside the box was this notice:
 I have no idea how to rotate that on my phone. Sorry. Anyway, that's pretty cool that a simple magnet it used for the ABS and traction control. I'm betting it is cheaper and likely even more reliable that a classic tone ring/toothed wheel.

New studs pressed into to the hub:

After the wasted trip to the parts store for something that no one has, I decided I'd just go ahead and take the spindle out, camber bolts be darned to heck! I did scribe a live in both bolt heads, but I was pleasantly surprised that no camber bolts are present in the shock mount. I'm guessing that they are actually on the inboard side of the list control arm. The only other issues was that the ABS sensor was not coming out. At all. I cut the wire and had to drill out the remains of the sensor:


After that, things went mostly smoothly. I pressed the old bearing out and the new one in:
 The hub was pressed in. Everything was bolted back together. Driver's side done!

Have I mentioned how much I hate these screws?

I had no choice but to grind those heads out. I honestly don't know what time it was, but it was late and I hope I didn't cause any sleepless nights . . . 

I got the new rotor and pads installed. You'll notice I am not saying anything about fixing the broken stud. I didn't. I was too tired wanted to not have the whole neighborhood string me up for waking them up. For more, I have three nuts on that wheel. I'll survive. 

After a final check, I bedded the pads in, cleaned up and . . . Slept straight through my alarm. Ugh. At least I didn't wimp out and take a day off. 

The brakes are smooth and quiet. They work better than the crusty old stuff. They'll be even better when they finish bedding and curing the resin, but I'm satisfied with how they are now. Yay. 

Now I have to figure out how to stay awake at work today . . . Ugh.

24 June 2014

Project Lazarus: First "Successfully Completed Commute" in a long while.

Right. So what do I mean by that since I've been driving my CRX back and forth to work for a couple of weeks now? I simply mean that I'm not afraid of the handling. It's not doing unexpected things. It's not bonking and bashing itself to death. It responds well to input from the steering. Am I done with the front suspension? Not at all, but it is finally close to being completed. I'm thankful for that.

And that's it for now. I had a whole bunch of pics get erased when I reset my phone, so I won't really bother with multiple catch up posts. I'll just assault you with a wall of text abs you can use your imagination for a change. Heh

13 April 2014

Busted Sub, Part 10: Finally some progress!

Yesterday after work my new new bearing came, so I set about getting the spindles together and I actually accomplished that!

First things first: Since I boogered up the last bearing, I decided to make a nice supporting plate for the bearing to prevent that from happening again. I took the eBay spring collar to work, traced out a circle of the right size and cut out a disc "generously" but not tooooo sloppily:

 Not terrible, but it definitely needed some trimming to fit in the recess and support the backside ofthe bearing.

After a while carefully grinding with my favorite 4.5" grinder:
 That's much better! It just barely fits through the recess for the bearing!

Here it is in place on top of the sleeve:

 Pressing complete:

BAM!
 One spindle down, one to go!

Now on to less pleasant things . . . The spindle with the boogered bearing and cocked hub. I was at a loss for a while trying to figure out how to get the hub out, at least without scratching the nicely powedercoated surfaces. Yeah, pretty parts can be a real pain at times. I am not used to handling pretty parts, so this took a while.  After ruling out beating the hub out with a hammer like I did the first time I took the hubs out, I figured out I could stand my arbor plates on end thusly:

Honda was so smart:
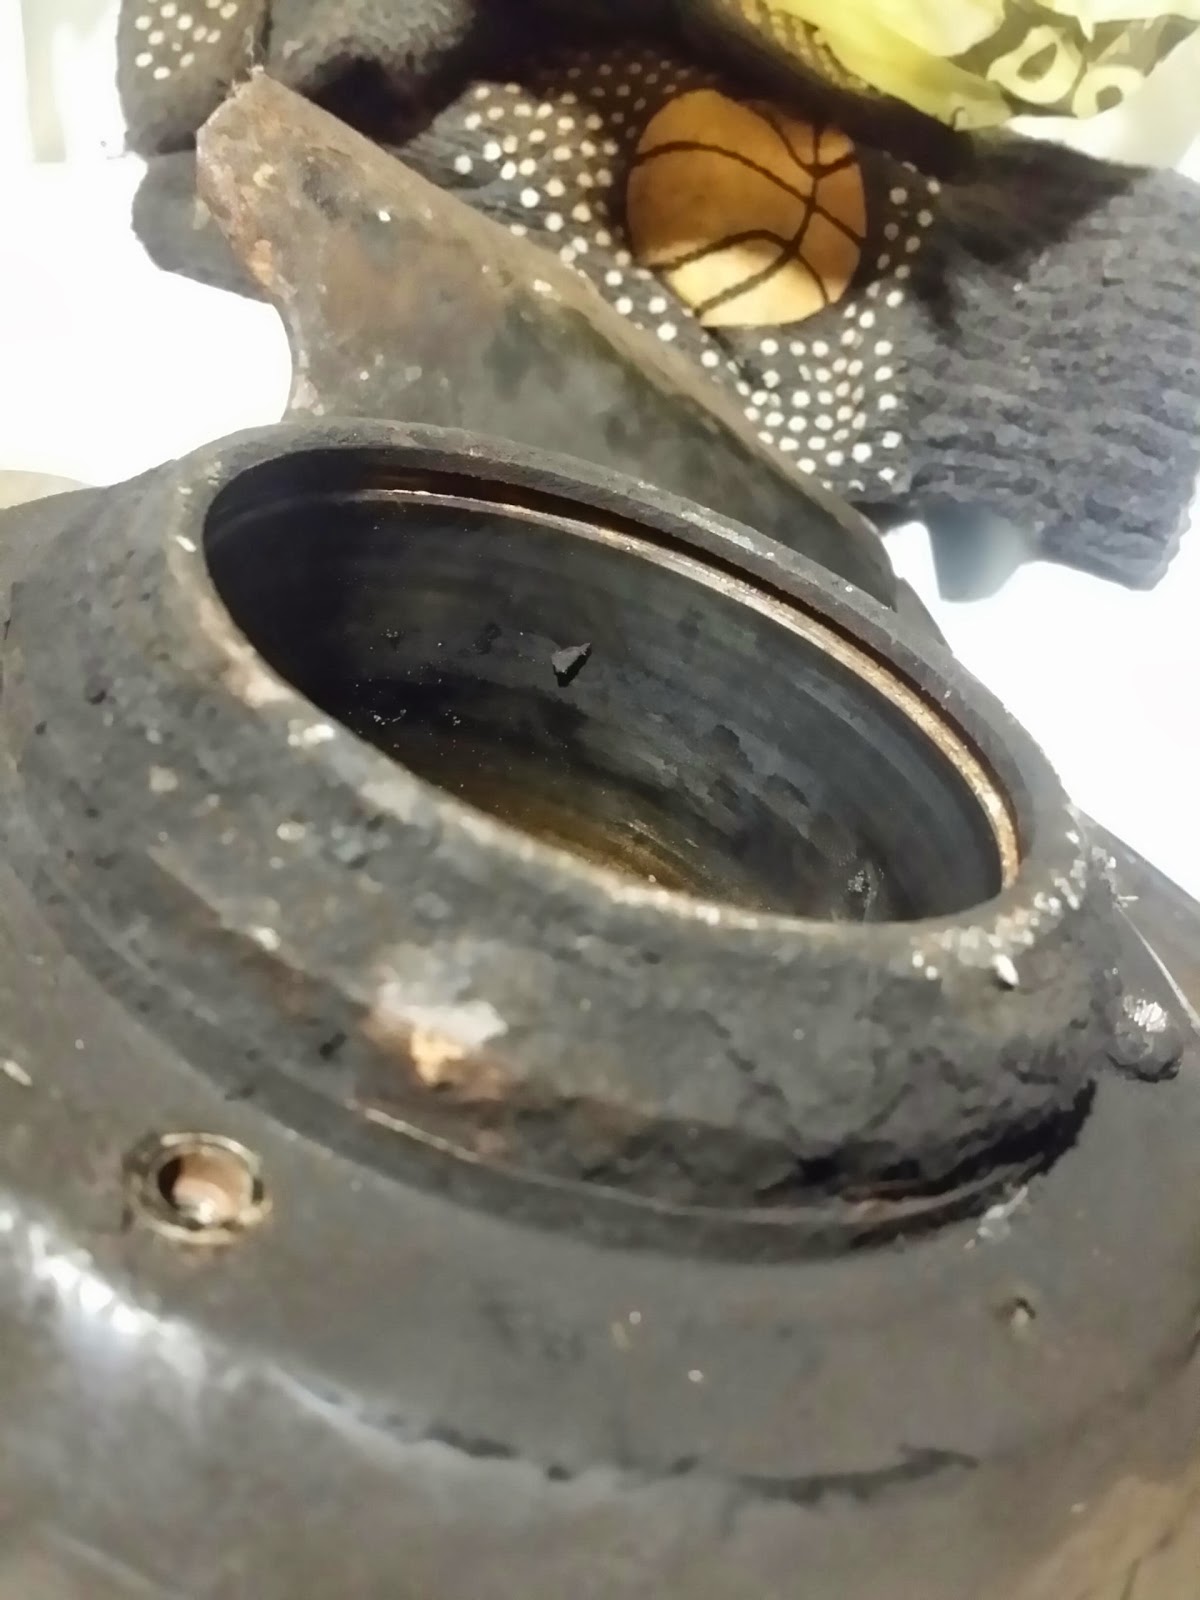
 That flat boss is in the same plane as the brake caliper mounting tabs! That creates a stable mounting plane, which I used to press out the hub! AWESOME!

That left me with this:

The real pain in the but came in taking off the inner race stuck to the hub. This was cocked pretty hardcore to the side. I couldn't fit the plates I had under the race and keep it safely set up on the press, so I went back to my pulley puller setup. 
 This took a long time. I cranked on the drive pin, then took a smaller hammer and tapped the race. Note I did not say I bashed it like a caveman. I tapped it. Tapping it causes a slight amount of plastic deformation, which, after a long time of applying pressure and tapping all the way around the circumference brought the race back to straight and then it pulled off pretty easily.

I think I cranked on the thing pretty hard:
 That took way too long, but, it worked without damaging anything. It was later, so I didn't want to be using my grinder with a cutoff wheel. That would have been the quickest way, I know, but, I do try to be courteous to our decent neighbors. (That's a concept lost by all the )(*#$(*#$ that have moved onto the block in the past 5-10 years.)

I got the snapring out and proceeded to press out the old bearing:
 Once I got it to the point you see above (the bearing was basically even with the opposite side of the spindle), I used a socket and hammer to pop it out.

Then I pressed in the new bearing and hub!
DONE! Finally. Now on to putting all this stuff into my CRX. Finally.

01 December 2013

Project Lazarus: Front Suspension Rebuild, Part 2

So I left off having done the hard part yesterday, taking off the hubs. Today started off with a bang. Literally. Smacking the rest of the bearing out with a hammer:

For the record, I hate pine needles and working around, or specifically under, pine trees. Geez. 

Don't forget to pop the dust shield off the back of the knuckle when removing the lower ball joint (again using a hammer since I was there and it was easy):

I managed to strip a few of the screws that hold the dust shield in place: 

They will get drilled out and replaced. I want to pull EVERYTHING apart and clean it all off so I can paint the whole knuckle. I want to do this once and do it right.

Speaking of cleaning, I busted out the WD40 and a green Scotchbrite pad and went to town on the bearing race of the knuckle: 

This is what the other one looked like before I started: 

The second one after the treatment: 

It makes a good bit of difference! But, notice all the exterior gook that is going to have to come off. Not too tasty. Someone had lost an axle boot sometime previously. 

I also cleaned up the bearing retaining rings: 

So, I have two brand new bearing:
What's a guy to do? Take them apart! Wait . . . what? WHY? Because racecar. I had found a very interesting post on a forum detailing how to repack bearings with superior grease. I did some research on this and talked to a few people who race Honders and found that the smaller civic bearing hubs have issues when racing (with big, sticky tires, bigger brakes, blah blah blah) unless the grease is replaced with something designed to handle the higher heat input to the bearings. I was convinced enough to go through the trouble and the risk of breaking something I've never tried before. On with the pics!

The Timken bearing is actually a reboxed Nachi. I thought this was a good thing since Nachi seems to be a good name in bearings and it is made in Japan.  

I decided to take apart the Koyo bearing first, so these next few pics of of the Koyo. I popped the inner races out: 

Pried out the balls and kept them together in the Nachi/Timken bearing for safe keeping: 

Then my fingers got really greasy so I didn't take a lot of pics, but I cleaned out the original grease as much as possible and got ready to repack the bearing with this: 

Looking at the test reports for this grease, it is very evident that it is REALLY good without being ridiculously expensive or hard to come by. It was recommended highly by many several racers and I think it will serve me well. It has a very interesting texture. It isn't as waxy as the original grease and when you pull a glob out of the container, it leaves very, very long stringers almost like taffy, but much thinner. 

I don't have ay pictures of the bearing after it was repacked, but, basically the grease is red instead of white. I didn't have any issues with it at all! Yay!

I was feeling pretty good and moved on to the Nachi: 

Woah! I know it might not be easy to tell, but this bearing had VERY LITTLE GREASE IN IT compared to the Koyo. So little I was kind of concerned. I didn't really need to wait very long to have my concerns made moot by the fact that the first ball I popped loose also took part of the plastic cage with it: 

Cue trombone: Wah wah waaaaaaah!

So, I won't be using THAT bearing. I've already ordered another Koyo. Live and learn. But, based on this, I will NOT be recommending Nachi bearings. The low amount of grease in the bearing from the factory is a huge concern to me, anyway. 

Another view of the broken cage and also showing how little grease is packed in with the balls: 

Since I didn't have any more bearings to bother with packing, I busted out the cheap wire brushes and set about cleaning up the hubs. Autozone wire brushes: 

Clean and shiny hub, and also showing a bit too much aggression with the bearing seperator:

It's mostly just a surface blemish, it isn't a deep scratch. I'm not really worried about it at all. 

I am going to take a powered wire brush to the hubs to really get all the rusty crud off before painting. Since I have to wait for the new bearing, I might as well clean and paint everything as best I can. 

That leads to the next question: are these upper control arms for a CRX? I am terrible at playing this game. I can't easily compare them to the ones on my car, and they might just be from an Accord. Does anyone happen to know?

The last thing I did before I called it a night was to test fit my lug nuts on the new wheel studs. I figured it would be better to check BEFORE they get pressed in. Sure enough, one of the studs has an odd spot on it that really binds the lug nuts. I don't know if you can really see it in the next two pics, but it is a very slightly darker colored spot: 

These don't break the bank. I will buy another one soon. I don't need it until I do the rears, which is likely a few months away yet. 

That's about it for now!