That took a lot longer than expected, but, the floors are finally solid again. Geez.
Here are a couple of final pics from Friday evening just before we quit for the evening:
 Dave actually does work once in a while. heh
This is mostly where we left off with the passenger side:
 Test fitting the new floor pan on Saturday morning:
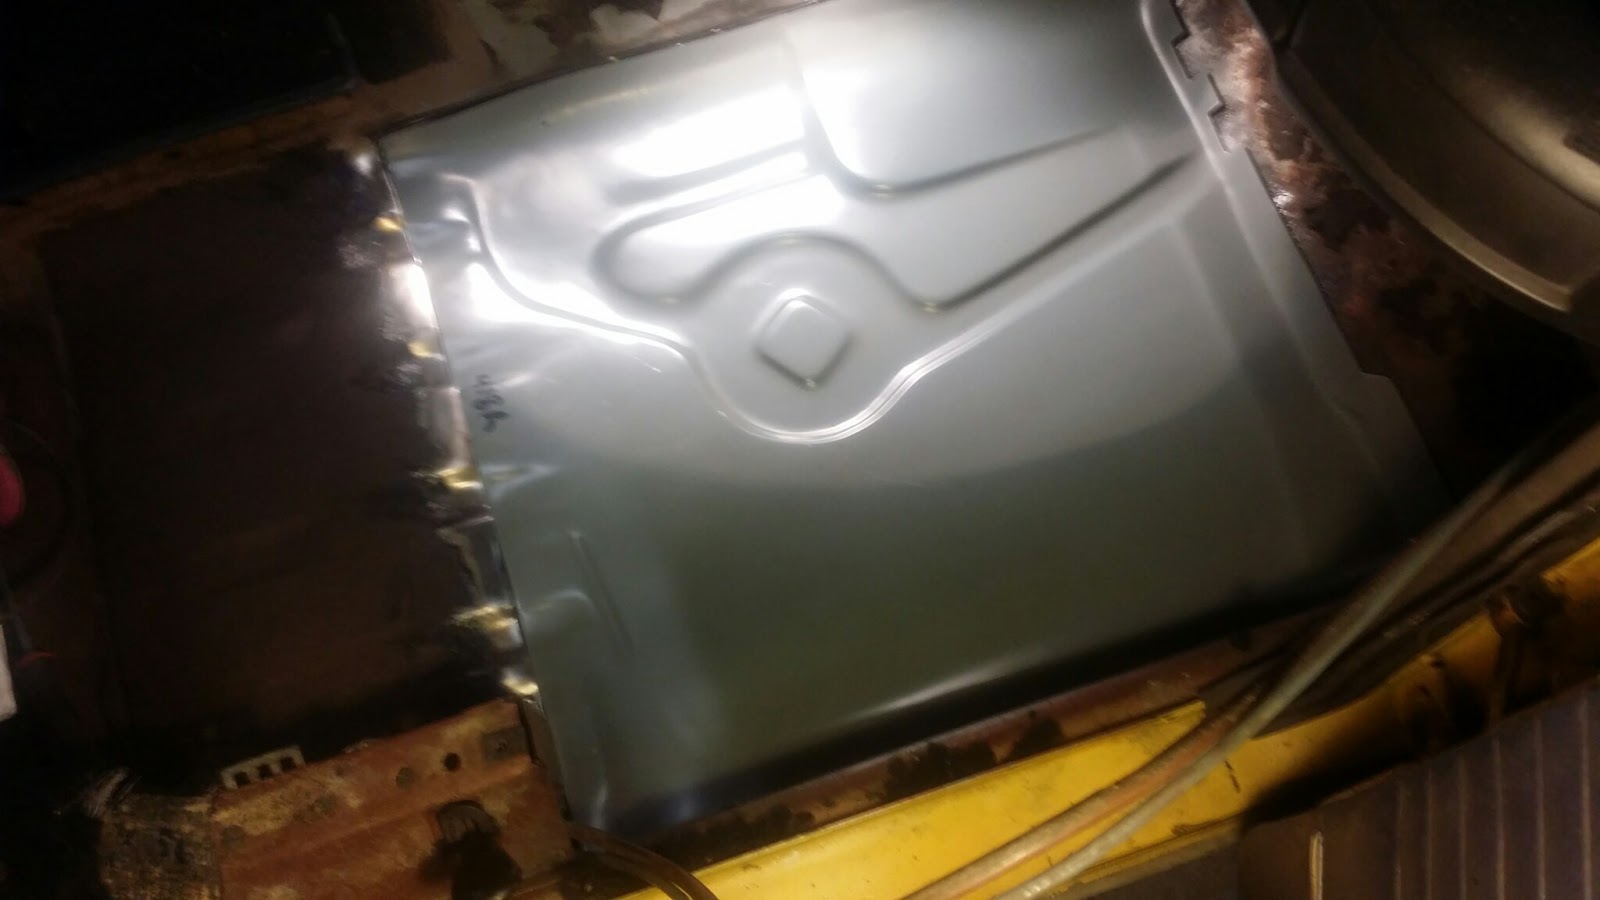 It fit really well. It covered nearly all the areas that were rusted and that were cut out. We did have to fill in a bit with some steel patches and there will be some liberal use of seam sealer on the far right side, but at that point, we were happy to have the panel line up and fit overall better than expect, even with the panel itself not matching the transmission tunnel. (I "adjusted" the tunnel with a hammer. heh)
This is where things start to get sketchy! The hole that I cut out was supposedly the only rust on the driver's side frame horn/rail thing. That was what we assumed until I hit the bottom of it with a wire wheel.
 ARG! I ended up cutting out the bottom of the thing as far forward as I could go. I tried to leave as much of the curved edge as possible so when the welds were ground down it would appear mostly factory.
The driver's side floor pan was oddly intact:
 You can also see more of the rust holes in the frame rail from that view, too.
I only had to chop out that much and a little on the other side of the frame rail, but was frustrated because of the pedal assembly getting in the way of nearly everything. That little piece took much longer than both Dave and I figured because it was so awkward to get into the corners from above an below.
I had to move the lift arm off the frame rail, and again, more rust is revealed:
 Dave and I made a cardboard template and traced it out on sheet steel, cutting it out with this awesome tool:
 I LOVE the curly cues this thing throws off:
 Then I got busy tacking the sucker in place:
 Flash added for effect:
 Jump forward to Sunday and the passenger side pan is finally welded in:
 It looks and feels GREAT. I did need to add some additional welds between the frame rail and pan from underneath, but it went pretty smoothly except for the fact that Dave was under the car watching for the inevitable fires welding was causing from the greasy underside.
Jump forward a LOT later on Sunday:
 Despite the issues with how awkward the prep work was, the actual welding of that panel went very well and much more quickly than I expected. There weren't as many fires to contend with, though we did have one pop up in the actual pedal box that was a bit bigger than the normal small flames we'd deal with. (We had a hose near by, for the safety nannies.)
A view from underneath showing the very good penetration of the floor patch pan and the welded in panel on the frame rail:
 One last view after cleaning up most of the welds on the frame rail:
 Now all Dave has to do is rust proof the thing so hopefully this will never happen again. Yay!
I am really beat. Saturday was so dang hot and muggy, and while we did have a fan, I couldn't keep it on while I was welding. Some other good stuff happened this weekend that will be revealed in due time. I'm kinda excited, but a lot has to happen first, so I can only do what I can do to make it so.
Here are a couple of final pics from Friday evening just before we quit for the evening:
This is mostly where we left off with the passenger side:
This is where things start to get sketchy! The hole that I cut out was supposedly the only rust on the driver's side frame horn/rail thing. That was what we assumed until I hit the bottom of it with a wire wheel.
The driver's side floor pan was oddly intact:
I only had to chop out that much and a little on the other side of the frame rail, but was frustrated because of the pedal assembly getting in the way of nearly everything. That little piece took much longer than both Dave and I figured because it was so awkward to get into the corners from above an below.
I had to move the lift arm off the frame rail, and again, more rust is revealed:
Jump forward a LOT later on Sunday:
A view from underneath showing the very good penetration of the floor patch pan and the welded in panel on the frame rail:
I am really beat. Saturday was so dang hot and muggy, and while we did have a fan, I couldn't keep it on while I was welding. Some other good stuff happened this weekend that will be revealed in due time. I'm kinda excited, but a lot has to happen first, so I can only do what I can do to make it so.


