Back at the blog!
Here is the dual master setup plumbed in:
 It looks soo cool!
Here's a trick for when you need to measure something a bit awkwardly shaped without calipers:
 I'm measuring the main hoop in the car to add in a horizontal bar that ties in the legs of the hoop. Strangely enough, the cage didn't have the originally, and I definitely couldn't argue with adding in that extra tube to the cage.
Setting up the tube notcher for the angle:

I don't think this is too shabby at all:
 Not perfect, but better than most home brew cage attempts I've seen.
Next up is figuring out how the tops of the shocks needed to be modified to fit:


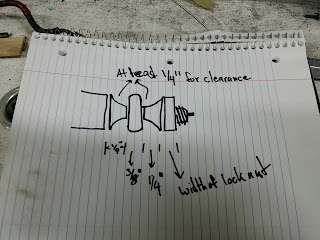

Basically, the top needed to end up looking like this rod end:
 Those measurements were sent off with the shocks to Koni. Getting them back in correct form was . . . a tale for another time. heh
One thing I love about convenient digital photos is that you can easily snap of pic of something you want to remember. In this case, I snapped a pic of where the tube notcher was set for making the notch in the horizontal brace tube:
 When in doubt, take a dang pic. Writing things down works, but, pics are sometimes even better for more complex things.
Now that the dash was finished, it is time to get this mounted:

Mark out the approximate locations for the mount uprights:
 Make the cross pieces for the uprights:

My first thought was to use steel sheet to make the mounting bosses, so I marked out bend lines:

Then drilled some pilot holes:
 Note: I am making two at the same time. It is much, much faster and will lead to a more consistent product if you can do all your layout and major fab processes all together than starting with split stuff in the beginning.
Here I am attempting to bend the piece into a three-sided box:

Eh . . . that's not really how I wanted it:

So, I took a piece of 1" square tube, marked the holes, pilot drilled them thusly:


Next up, making extensions for the mounting boss out of some angle:


Here's how they will sit on the mounting boss:
 I'm going through the trouble of extra work for the second set of holes because I didn't want to mount the dash in single sheer. Would it likely ever be an issue? No, but, the dash does hold up the vitals for monitoring the engine and it also holds up the brake fluid reservoirs, so if something did happen, it would render the car unsafe to drive, which means I make the whole thing as bomb-proof as possible!
Here I am laying out the lower upright mount plates:

Poppin' holes:

Deburr all the things!
 I think every fabricator should likely have a step drill. They are so handy for so many different things!
Then I zipped off the back of the tube for the mounting boss:

Bolted the mount plate to the boss and angles:


This is how it all goes together:

Except that I had it upside down:

Things got a little too hot, but, well, that wont hurt anything:

The top holes will get studs:

They are tacked in place:


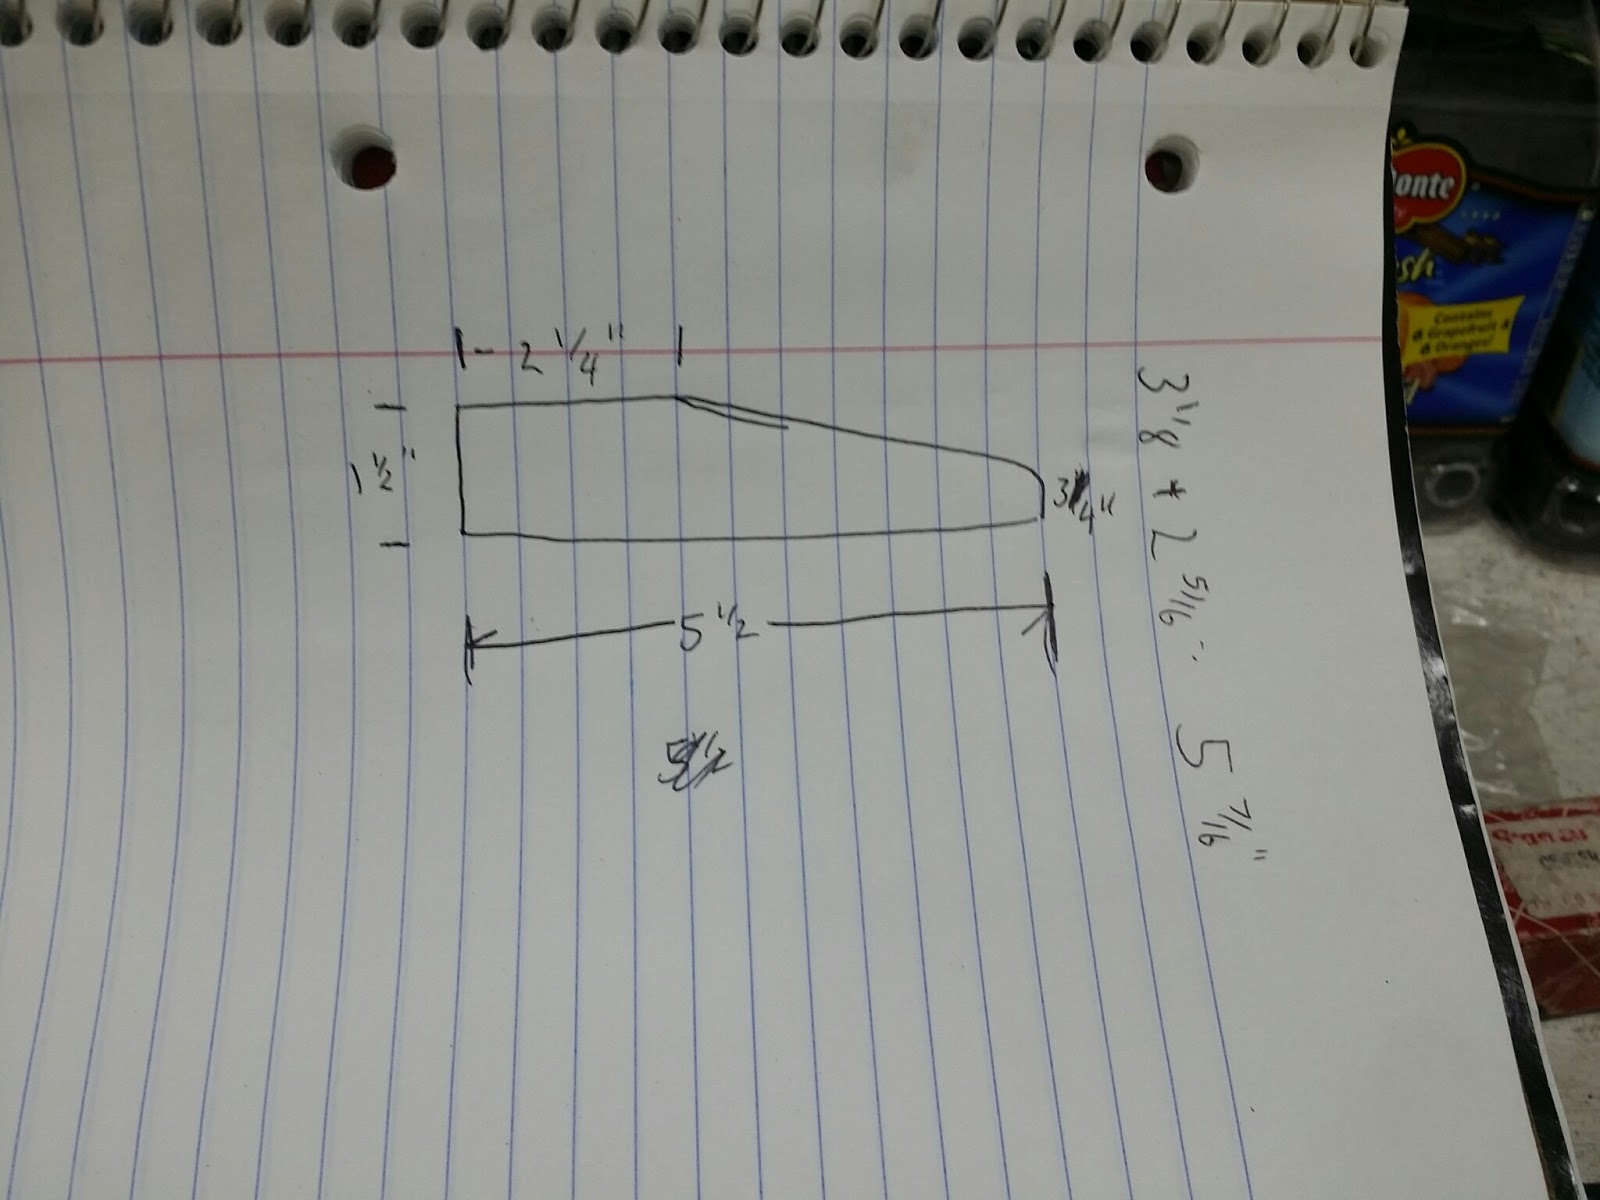
Now it is time to figure out the dimensions of the uprights themselves:


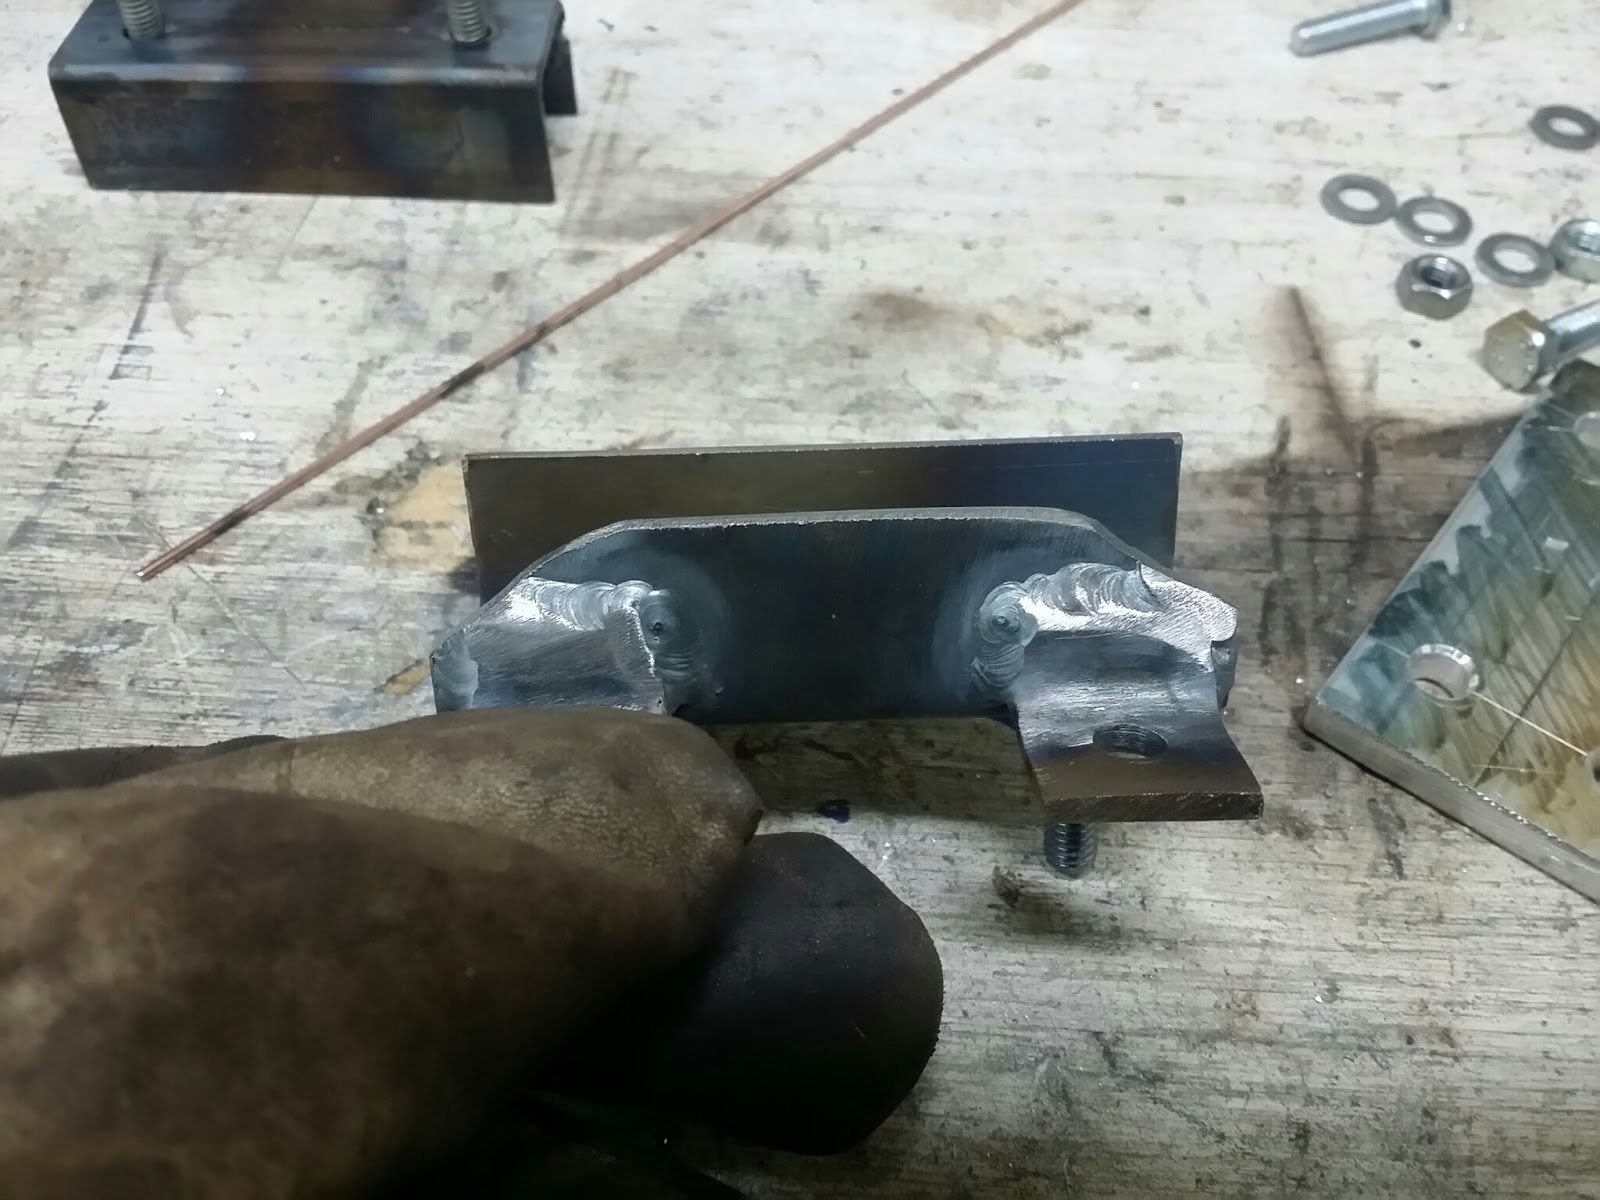
Laying down some decent beads, finally:

And here's where I left off for the weekend:
 Next time, I'll finish the dash and move on to other fun stuff!
Here is the dual master setup plumbed in:

Here's a trick for when you need to measure something a bit awkwardly shaped without calipers:

Setting up the tube notcher for the angle:

I don't think this is too shabby at all:

Next up is figuring out how the tops of the shocks needed to be modified to fit:


Basically, the top needed to end up looking like this rod end:

One thing I love about convenient digital photos is that you can easily snap of pic of something you want to remember. In this case, I snapped a pic of where the tube notcher was set for making the notch in the horizontal brace tube:

Now that the dash was finished, it is time to get this mounted:

Mark out the approximate locations for the mount uprights:


My first thought was to use steel sheet to make the mounting bosses, so I marked out bend lines:

Then drilled some pilot holes:

Here I am attempting to bend the piece into a three-sided box:

Eh . . . that's not really how I wanted it:

So, I took a piece of 1" square tube, marked the holes, pilot drilled them thusly:


Next up, making extensions for the mounting boss out of some angle:


Here's how they will sit on the mounting boss:

Here I am laying out the lower upright mount plates:

Poppin' holes:

Deburr all the things!

Then I zipped off the back of the tube for the mounting boss:

Bolted the mount plate to the boss and angles:


This is how it all goes together:

Except that I had it upside down:

Things got a little too hot, but, well, that wont hurt anything:

The top holes will get studs:

They are tacked in place:

Now it is time to figure out the dimensions of the uprights themselves:

Laying down some decent beads, finally:


Please leave me feedback either here or on my Facebook page, which you can find by clicking this link: Beaver Built on FaceBook
You can subscribe to receive new post notifications by entering your email in the box on the right of the article, by RSS feed or by FaceBook.
Thanks for reading and I hope you find this stuff useful or amusing or both. =)


